Sprite Lab Block Pools Overview
Key Resource List of Sprite Lab Block Pools
Blocks are the individual Sprite Lab blocks you can use in a level. A Block Pool is a collection of Sprite Lab blocks that you can customize and add to levels. The link above shows all the available pools. Clicking on any of the pools will show the list of available blocks.
When editing levels, you can decide to include blocks from different pools in the Block Pool section of the edit page. By default: every level should include the GamelabJr block pool. Click here to view the blocks in that pool

Adding a pool to a level doesn't add those blocks to the level by default; it's more like it makes it possible for those blocks to work in that level. If you want to add blocks from that pool to the level, you still need to go through the Toolbox (more on this later).
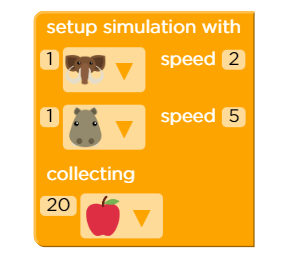
A good example of a non-standard block custom-created is the Setup Sim block, used in the Simulating Experiments lesson
A good example of a non-standard Block Pool is the Outbreak Block Pool. These blocks were specially designed for prototyping the Outbreak Simulator activity, but are no longer used.
This behavior I'm about to describe is truly the dumbest thing I've encountered in our Code.org tools.
- Go to an existing Block Pool - it doesn't matter which one. You should be a URL that looks like
https://levelbuilder-studio.code.org/pools/{Block Pool Name}/blocks. For example: you could go to the Poetry Block Pool, which is at the URL https://levelbuilder-studio.code.org/pools/Poetry/blocks - In the URL: erase the
{Block Pool Name}and replace it with the new name you want for your block pool. For example: I would changehttps://levelbuilder-studio.code.org/pools/Poetry/blockstohttps://levelbuilder-studio.code.org/pools/newBlockPool/blocks

-
Press enter. When the screen refreshes, you'll have a new block pool you can add to.
-
Bookmark this page, because the list of block pools at https://levelbuilder-studio.code.org/pools doesn't refresh automatically and only once a new block has been made in this pool.
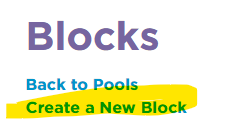
Once you have a block pool, you can click the "Create New Block" link at the top of the page
The screen that loads has several areas of interest. I'll describe them below, but most of the time you won't fill these in from scratch. 99% of the time, you'll copy what you want from an existing block and then tweak it (more on that later):
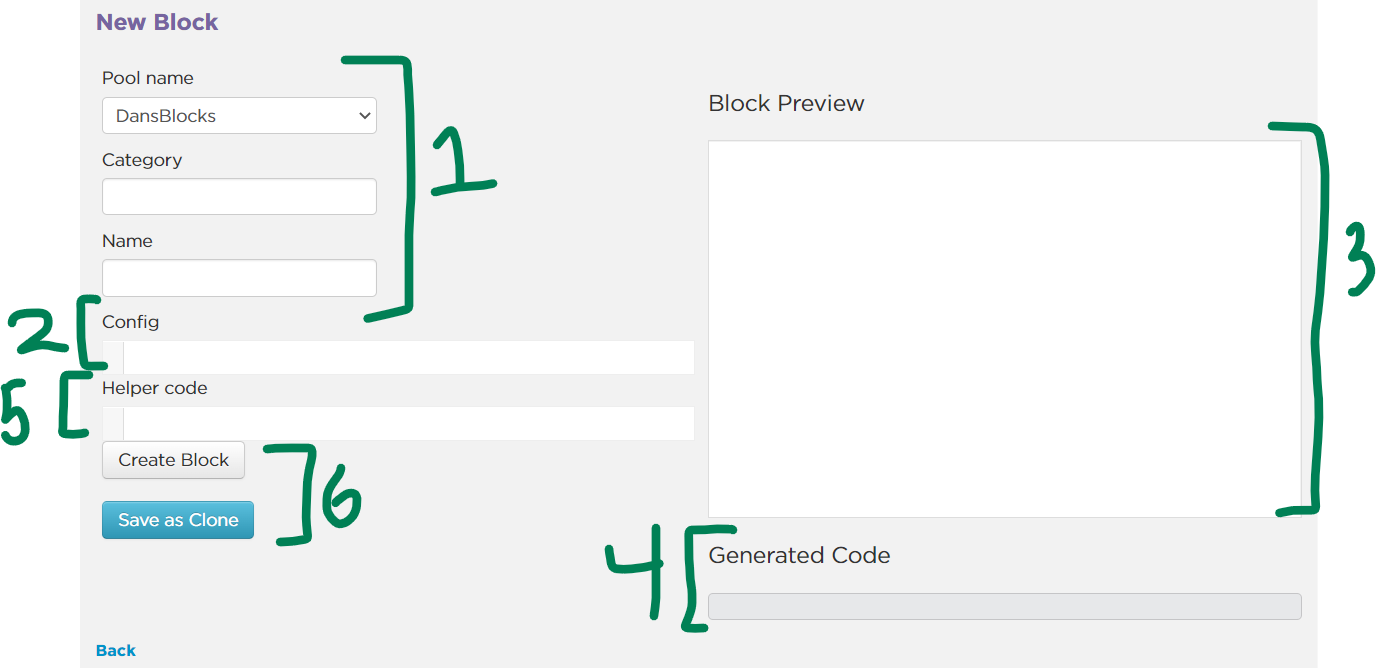
These three fields are the metadata about your block. When creating a new block, you only need to update the Category field (see below)
- Pool Name is set automatically. See the "Move blocks between pools" section of this guide to see a reason you might change it.
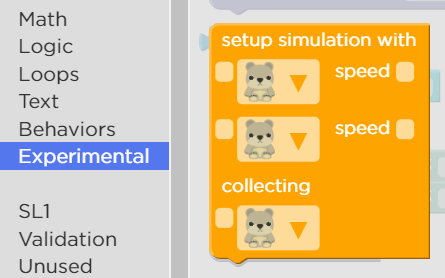
- Category refers to the category drawer you can find this block when editing a level's toolbox. 99% of the time, you should set this to Experimental, and it will appear in that section of the Toolbox Edit screen on a level.
- Name is the name of your block and will get updated automatically in a later section.
This is where you describe the format of your block. For example: what inputs does it take? Does it have a dropdown? Does it connect inside other blocks? This block will get filled in a JSON format surrounded by {}. Most of the time, you will copy this from an existing block and tweak. See the Config Options section below for more details about what can go here.
This is where the preview of your block will appear, based on what you setup in the (2) Config section. You don't directly edit anything here - instead, it will update based on the config field. Mastering the appearance of your block comes from a lot of trial-and-error and looking at other block examples.
This is the code that will be generated and run within Sprite Lab by the block you're creating. It always calls a function, which matches the func property in your config file. This func property + the Block Pool automatically determines the name for your block
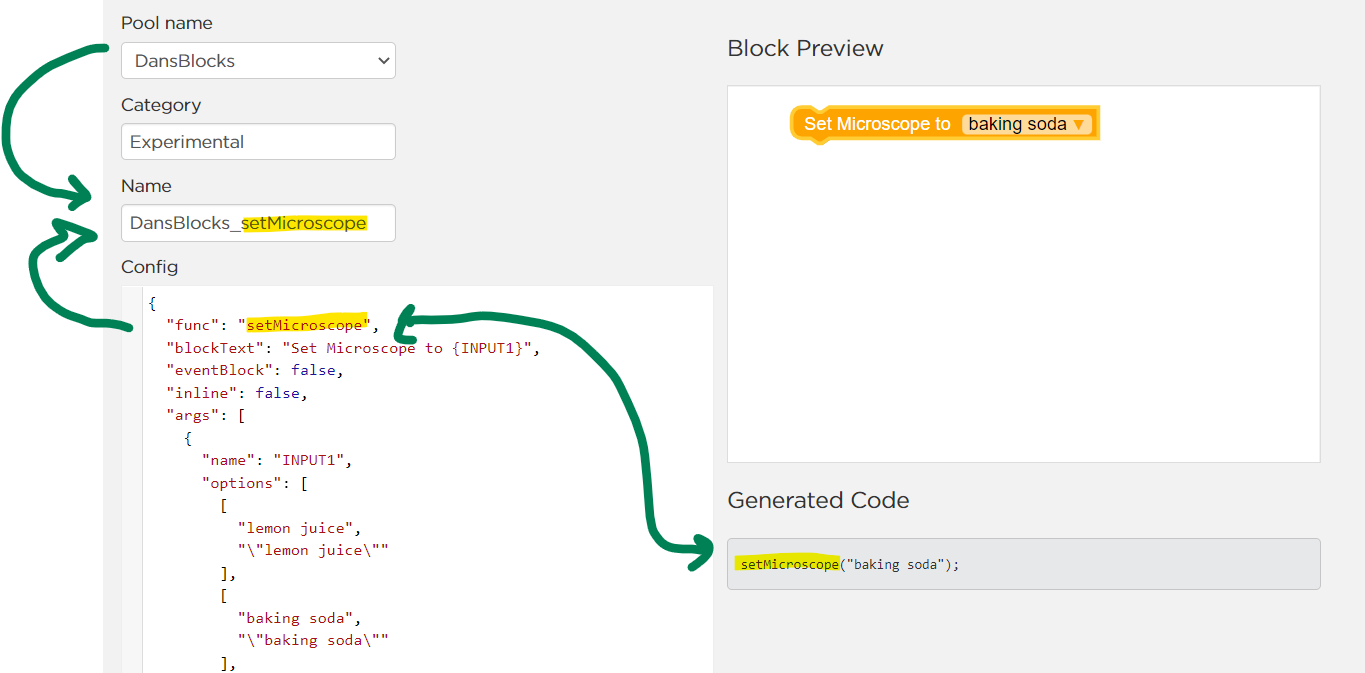
As you experiment with the block in the (3) Preview area, you can also see how the arguments for your function will appear. Notice that strings need to have their quotes "escaped" by adding a \ in front of them. In the example below, you can see that I made a mistake and forgot to "escape" the second ", which will cause an error when I try to call my function
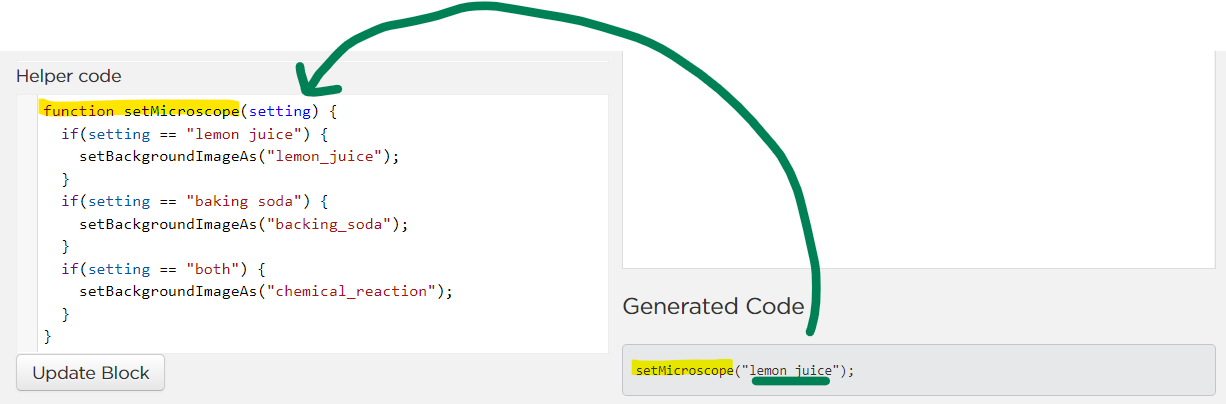
This is where you can add extra code that gets imported into your level with this block. Specifically: This is where you should define the function for your block!
Most of the time, you will fill your function with existing Sprite Lab commands that you can find when pressing Show Code in a Sprite Lab level:

When you're finished, press the "Create Block" button (if you're editing a block, this will say "Update Block" instead).
There are a few special cases where you'll use the "Clone Block" button (see below), but for the most part you can ignore it.
- Press the "Create New Block" button in the block pool you want to create from
- Type "Experimental" into the Category field
- In a new tab: find a block with a similar style as the block you want to create (ie: has Sprite inputs, or has a dropdown, or is an event block, or is an inline connector block).
- Copy-and-paste the
configof that block to the block you're creating - Tweak the config file (or find more blocks to copy from) until the block looks the way you want it to
- Set the appropriate color based on what the block does (see the Block Colors section below)
- Set the
funcfield to a function name that makes sense to you - In the helper code section: define that function
- Write the behavior you want for the block in the function you just created
- Press the Save Block button
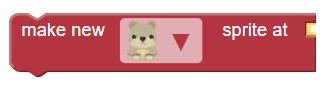
This block makes sprites (or is just a block pointing to sprites) - RED
"color": [
355,
".7",
".7"
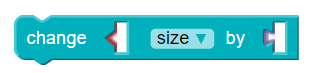
]This block does stuff to existing sprites - TEAL
  "color": [
    184,
    1,
    0.74
  ]
literal location objects - YELLOW
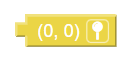
- (this seems to get set automatically when you tell Game Lab the block is a location)
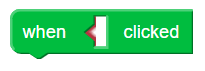
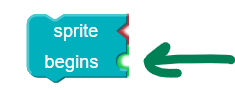
event block but not when run - DARK GREEN
  "color": [
    140,
    1,
    0.74
  ]
Behaviors - LIGHT GREEN
"color": [
136,
".84",
".80"
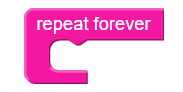
]loops - PINK
  "color": [
    322,
    0.9,
    0.95
  ]
Booleans / Conditionals - DARK BLUE
  "color": [
    197,
    0.88,
    0.78
  ]
Variables / Numbers - LIGHT PURPLE

  "color": [
    312,
    0.32,
    0.62
  ]
World blocks not involving sprites - DARK PURPLE

  "color": [
    258,
    "0.35",
    "0.62"
  ]
when run or similar blocks that could replace it - ORANGE
"color": [
39,
1,
0.99
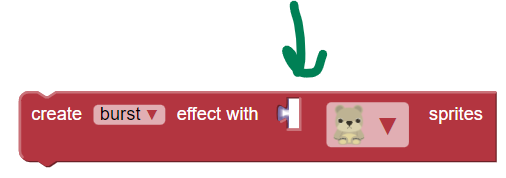
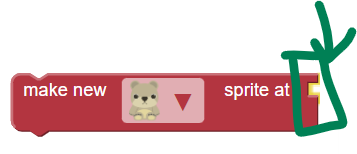
]When you create a block, you can set the inputs that a user can use when interacting with a block using {} notation. Using the Burst block as an example:

Creating the text for this block actually looks like this line in the Config area:
"blockText": "create {EFFECT} effect with {NUM} {ANIMATION_NAME} sprites"Where {EFFECT}. {NUM}, and {ANIMATION_NAME} are variables that are defined in the args section of the Config area. When seen as a whole, it looks like this:

It can be tricky to see, but args is an array of {key: value} objects, where each object describes one of the arguments. Each argument must have a name key. Additional keys can determine the format of the argument. For example:
{
"name": "NUM",
"type": "Number"
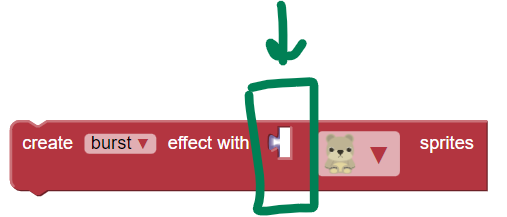
}The "type": "Number" pair tells Sprite Lab to only allow Number or Variable blocks to fit in that slot, resulting in this puzzle-piece slot:
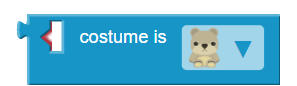
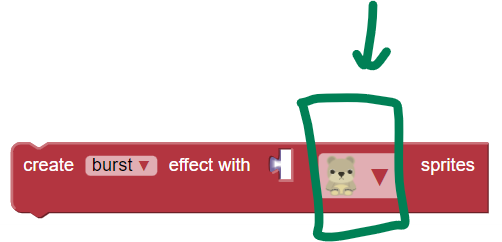
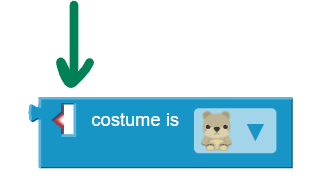
Similarly, the "customInput": "costumePicker" pair for "ANIMATION_NAME" tells Sprite Lab to generate a sprite costume picker:

You're Not Crazy: There's No Consistency Here Other Than Having A name key. In this example, it's not like all of them have a type key that tells Sprite Lab what kind of input to generate. Instead, it bases this decision off of the other keys provided. For example: Providing an options key means Sprite Lab will generate a dropdown menu.
Because of this: the best way to figure out what kind of inputs you want is to look at existing blocks and copy what they do.
- Find an existing block with parameters like the one you want to use in your block, and copy-and-paste the corresponding
argselement into your block.
Number Block:
  {
    "name": "VAL",
    "type": "Number"
}Text Block:

    {
      "name": "QUESTION",
      "type": "String"
}Type Your Own Number:

    {
      "name": "DISTANCE",
      "type": "Number",
      "field": true
}Type Your Own Text:

    {
      "name": "SPEECH",
      "type": "String",
      "field": true
}Variable Selector Dropdown:
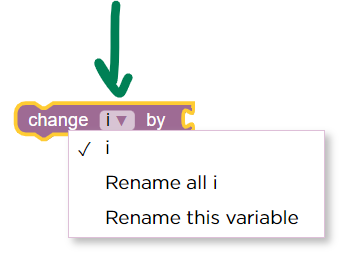
  {
    "name": "VARIABLE",
    "variableInput": true
  }
Variable Name Picker:
  {
        "name": "VAR",
        "customInput": "variableNamePicker"
      }
Costume Picker:
    {
      "name": "ANIMATION_NAME",
      "customInput": "costumePicker"
}Sprite Input:
  {
    "name": "SPRITE",
    "type": "Sprite"
}- isCostumeEqual(https://levelbuilder-studio.code.org/pools/GamelabJr/blocks/gamelab_isCostumeEqual/edit)
- isTouching
Dropdown Menu:
    {
      "name": "OPT",
      "options": [
        [
          "follow",
          "\"follow\""
        ],
        [
          "avoid",
          "\"avoid\""
        ]
      ]
}Location:
    {
      "name": "LOC1",
      "type": "Location"
}Location Picker:
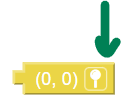
    {
      "name": "LOCATION",
      "customInput": "locationPicker"
}Behavior:
    {
      "name": "BEHAVIOR",
      "type": "Behavior"
}Sound Picker:
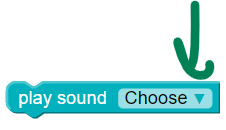
    {
      "name": "SOUND",
      "customInput": "soundPicker"
}Colour:

    {
      "name": "COLOR",
      "type": "Colour"
}Background Picker:
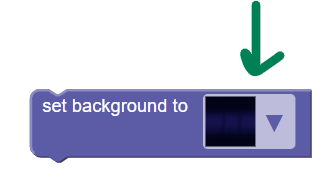
    {
      "name": "IMG",
      "customInput": "backgroundPicker"
}Add an artificial break in your block text for readability

  "blockText": "show title screen {BREAK} title {TITLE} subtitle {SUBTITLE}",
  "args": [
    {
      "name": "BREAK",
      "dummy": true
}Sidenote: there may be other parameter options listed here