OpenRiichi is an open source Japanese Mahjong client written in the Vala programming language. The client is cross platform, with official builds for Windows, Linux, and MacOS. It supports singleplayer and multiplayer, with or without bots. It features all the standard riichi rules, as well as some optional ones. It also supports game logging, so games can be viewed again.
Prebuilt binaries for windows can be found in the release section.
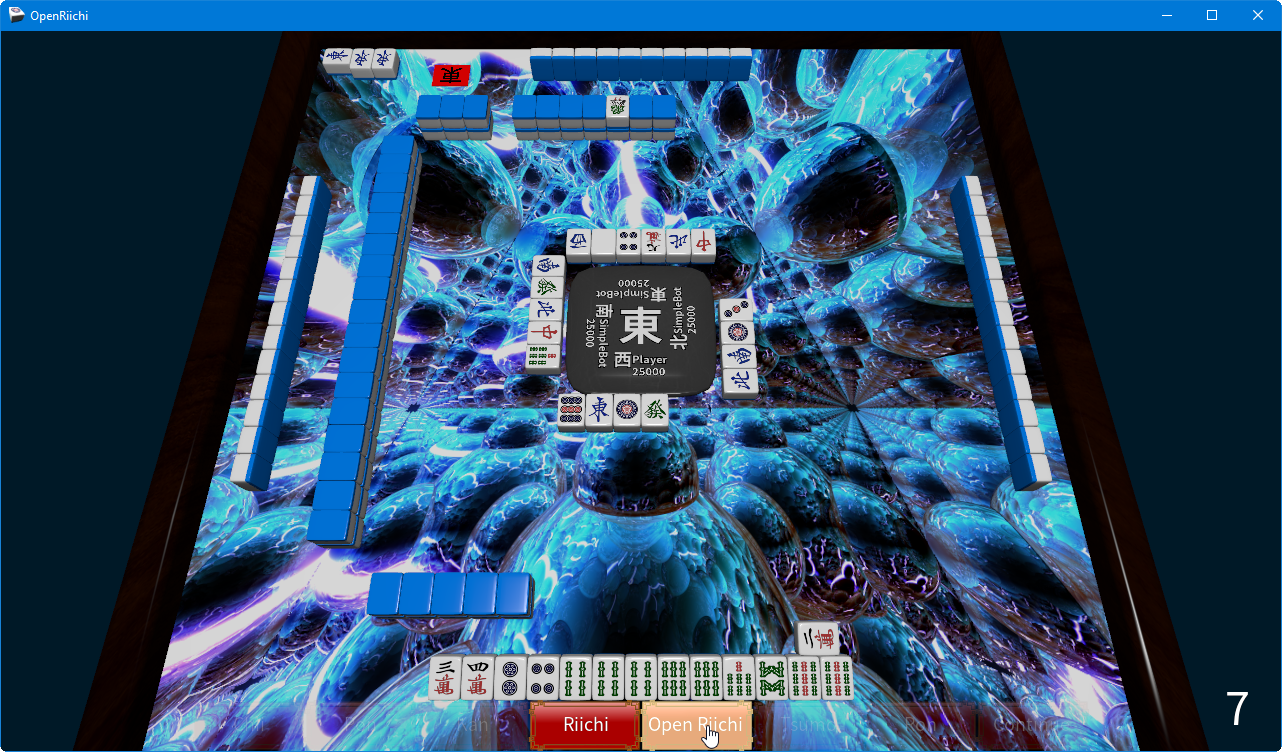
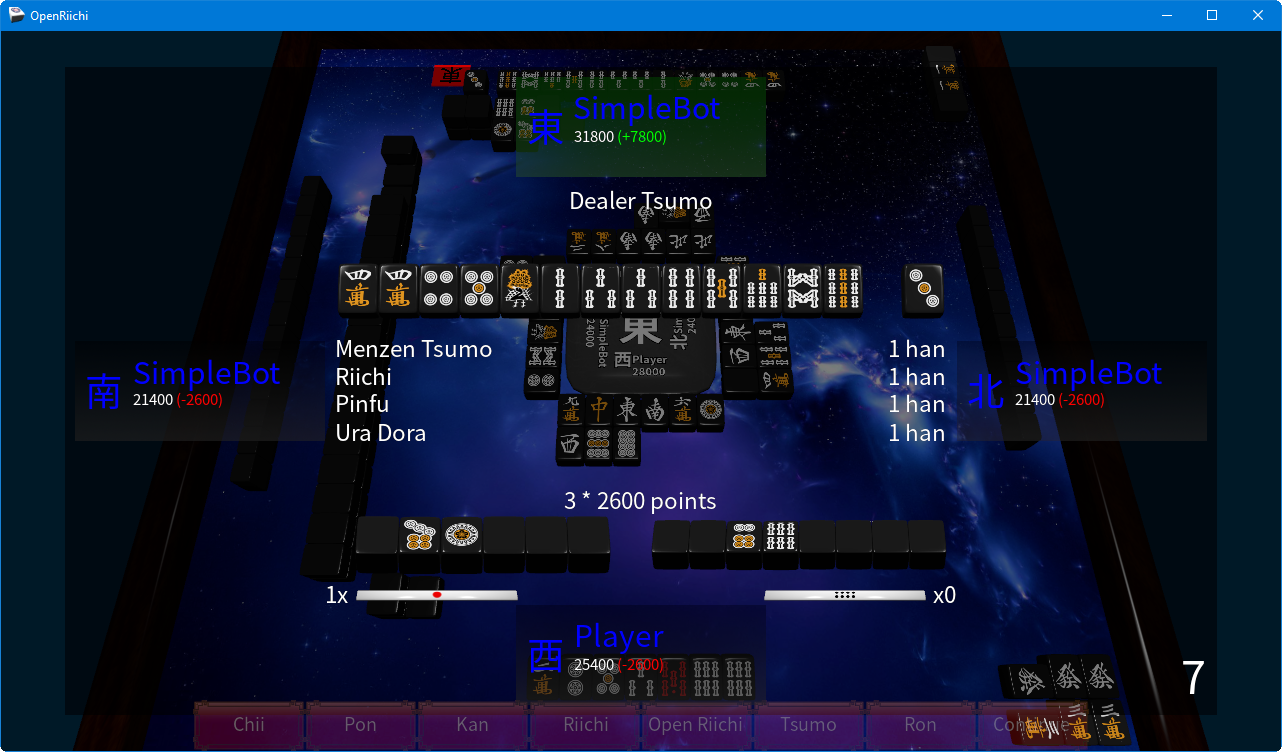
More screenshots can be found here.
The easiest way to build the client on Windows is to use the MSYS2 environment with a MinGW toolchain.
You need to start off by installing MSYS2. Once that is done, open up your MSYS2-mingw64 shell and run the following commands:
pacman --noconfirm -S pacman
pacman --noconfirm -Syu
pacman --noconfirm -S \
git \
mingw64/mingw-w64-x86_64-vala \
mingw64/mingw-w64-x86_64-pkg-config \
mingw64/mingw-w64-x86_64-gcc \
mingw64/mingw-w64-x86_64-meson \
mingw64/mingw-w64-x86_64-libgee \
mingw64/mingw-w64-x86_64-gtk3 \
mingw64/mingw-w64-x86_64-glew \
mingw64/mingw-w64-x86_64-SDL2_image \
mingw64/mingw-w64-x86_64-SDL2_mixer \
mingw64/mingw-w64-x86_64-pango
On MacOS the client can be built using Command Line Tools for macOS and MacPorts.
Start by installing MacPorts and the developer tools.
Then run the following commands:
sudo port selfupdate
sudo port install \
git \
vala \
pkgconfig \
meson \
libgee \
gtk3 \
libsdl2 \
libsdl2_image \
libsdl2_mixer \
glew \
pango
Run the following commands:
sudo aptitude install -y \
git \
valac \
gcc \
meson \
libgee-0.8-dev \
libgtk-3-dev \
libglew-dev \
libpango1.0-dev \
libsdl2-image-dev \
libsdl2-mixer-dev \
libsdl2-dev
Start by cloning the OpenRiichi repository with: git clone --recurse-submodules https://github.com/FluffyStuff/OpenRiichi.git
Next, generate a build target with meson using meson build -Dbuildtype=release or meson build -Dbuildtype=debug depending on whether you want a release or debug build.
Build the target with ninja using: ninja -C build
You can also install the target by running: ninja -C build install
You can remove the installed target by running: ninja -C build uninstall
If the installation build succeeded, you should be able to launch the application by running OpenRiichi.
OpenRiichi requires the Data folder (found inside the bin folder) to be in the one of the search directories. OpenRiichi will add the OpenRiichi subdirectory of the default data directory of the OS (usually /usr/share/OpenRiichi) to the search path, along with the the current working directory and the executable directory.
An additional search path can be added during runtime by running OpenRiichi with the --search-directory some_custom_directory flag.
The preferred editor to use is Visual Studio Code. It works on all operating systems which are supported for OpenRiichi, and has several extensions for Vala in the Visual Studio Marketplace.
Setting up building and debugging for VSCode in windows requires a few tweaks.
First we need to add these MSYS2 directories to our path environment variable (in case of the default MSYS2 install path): C:\msys64\usr\bin and C:\msys64\mingw64\bin
Create or edit your tasks.json file and add the following build command:
{
    "version": "2.0.0",
    "command": "bash",
    "args": [
        "-l",
        "-c",
        "ninja -C build"
    ],
    "problemMatchers": [
        "$valac"
    ],
    "group": {
        "kind": "build",
        "isDefault": true
    }
}
This should allow you to run incremental builds from within VSCode.
For debugging you will need a MinGW-w64 version of GDB. A release package can be found here. Go to the latest release folder and download the x64_64-posix-seh package. Extract the containing mingw64 folder to a location of your choice.
Your launch.json should look like the following:
{
    "version": "0.2.0",
    "configurations": [
        {
            "name": "Debug",
            "type": "cppdbg",
            "request": "launch",
            "program": "${workspaceRoot}/build/OpenRiichi.exe",
            "args": ["--debug", "--working-directory", "${workspaceFolder}/bin"],
            "cwd": "${workspaceFolder}",
            "MIMode": "gdb",
            "miDebuggerPath": "path_to_your_mingw64/bin/gdb.exe",
            "setupCommands": [
                {
                    "description": "Enable pretty-printing for gdb",
                    "text": "-enable-pretty-printing",
                    "ignoreFailures": false
                }
            ]
        }
    ]
}
Where you should replace path_to_your_mingw64 with the path to the mingw64 folder you extracted earlier. You should now be able to debug the application with features such as breakpoints, callstacks, threads, and, variable inspection.
OpenRiichi is licensed under GPLv3. Feel free to make any changes and submit a pull request.