

A Python 2 based, multi-user home automation system.
Currently supports the following devices:
- ZWave
- Aeon Labs Z Stick S2
- Aeon Labs Multisensor
- TKB TZ67-E Wall Plug Dimmer
- [Fibaro Motion Sensor](docs/Fibaro Motion-Sensor_EN_5.3.14.pdf)
- Vision Motion Sensor
- Local Wifi
- Philips Hue lights
- Belkin Wemo switches + motion sensors
- Arbitrary wifi devices (ie your phone, for presence)
- Sonos devices (basic detection right now)
- Edimax mains switch (planned)
- 433Mhz
- RF Switches (testing with Brennenstuhl remote control mains sockets)
- Internet / OAuth
- Nest Thermostats and Protects
- Netatmo weather stations
- Insteon hub & devices (using their OAuth2 api)
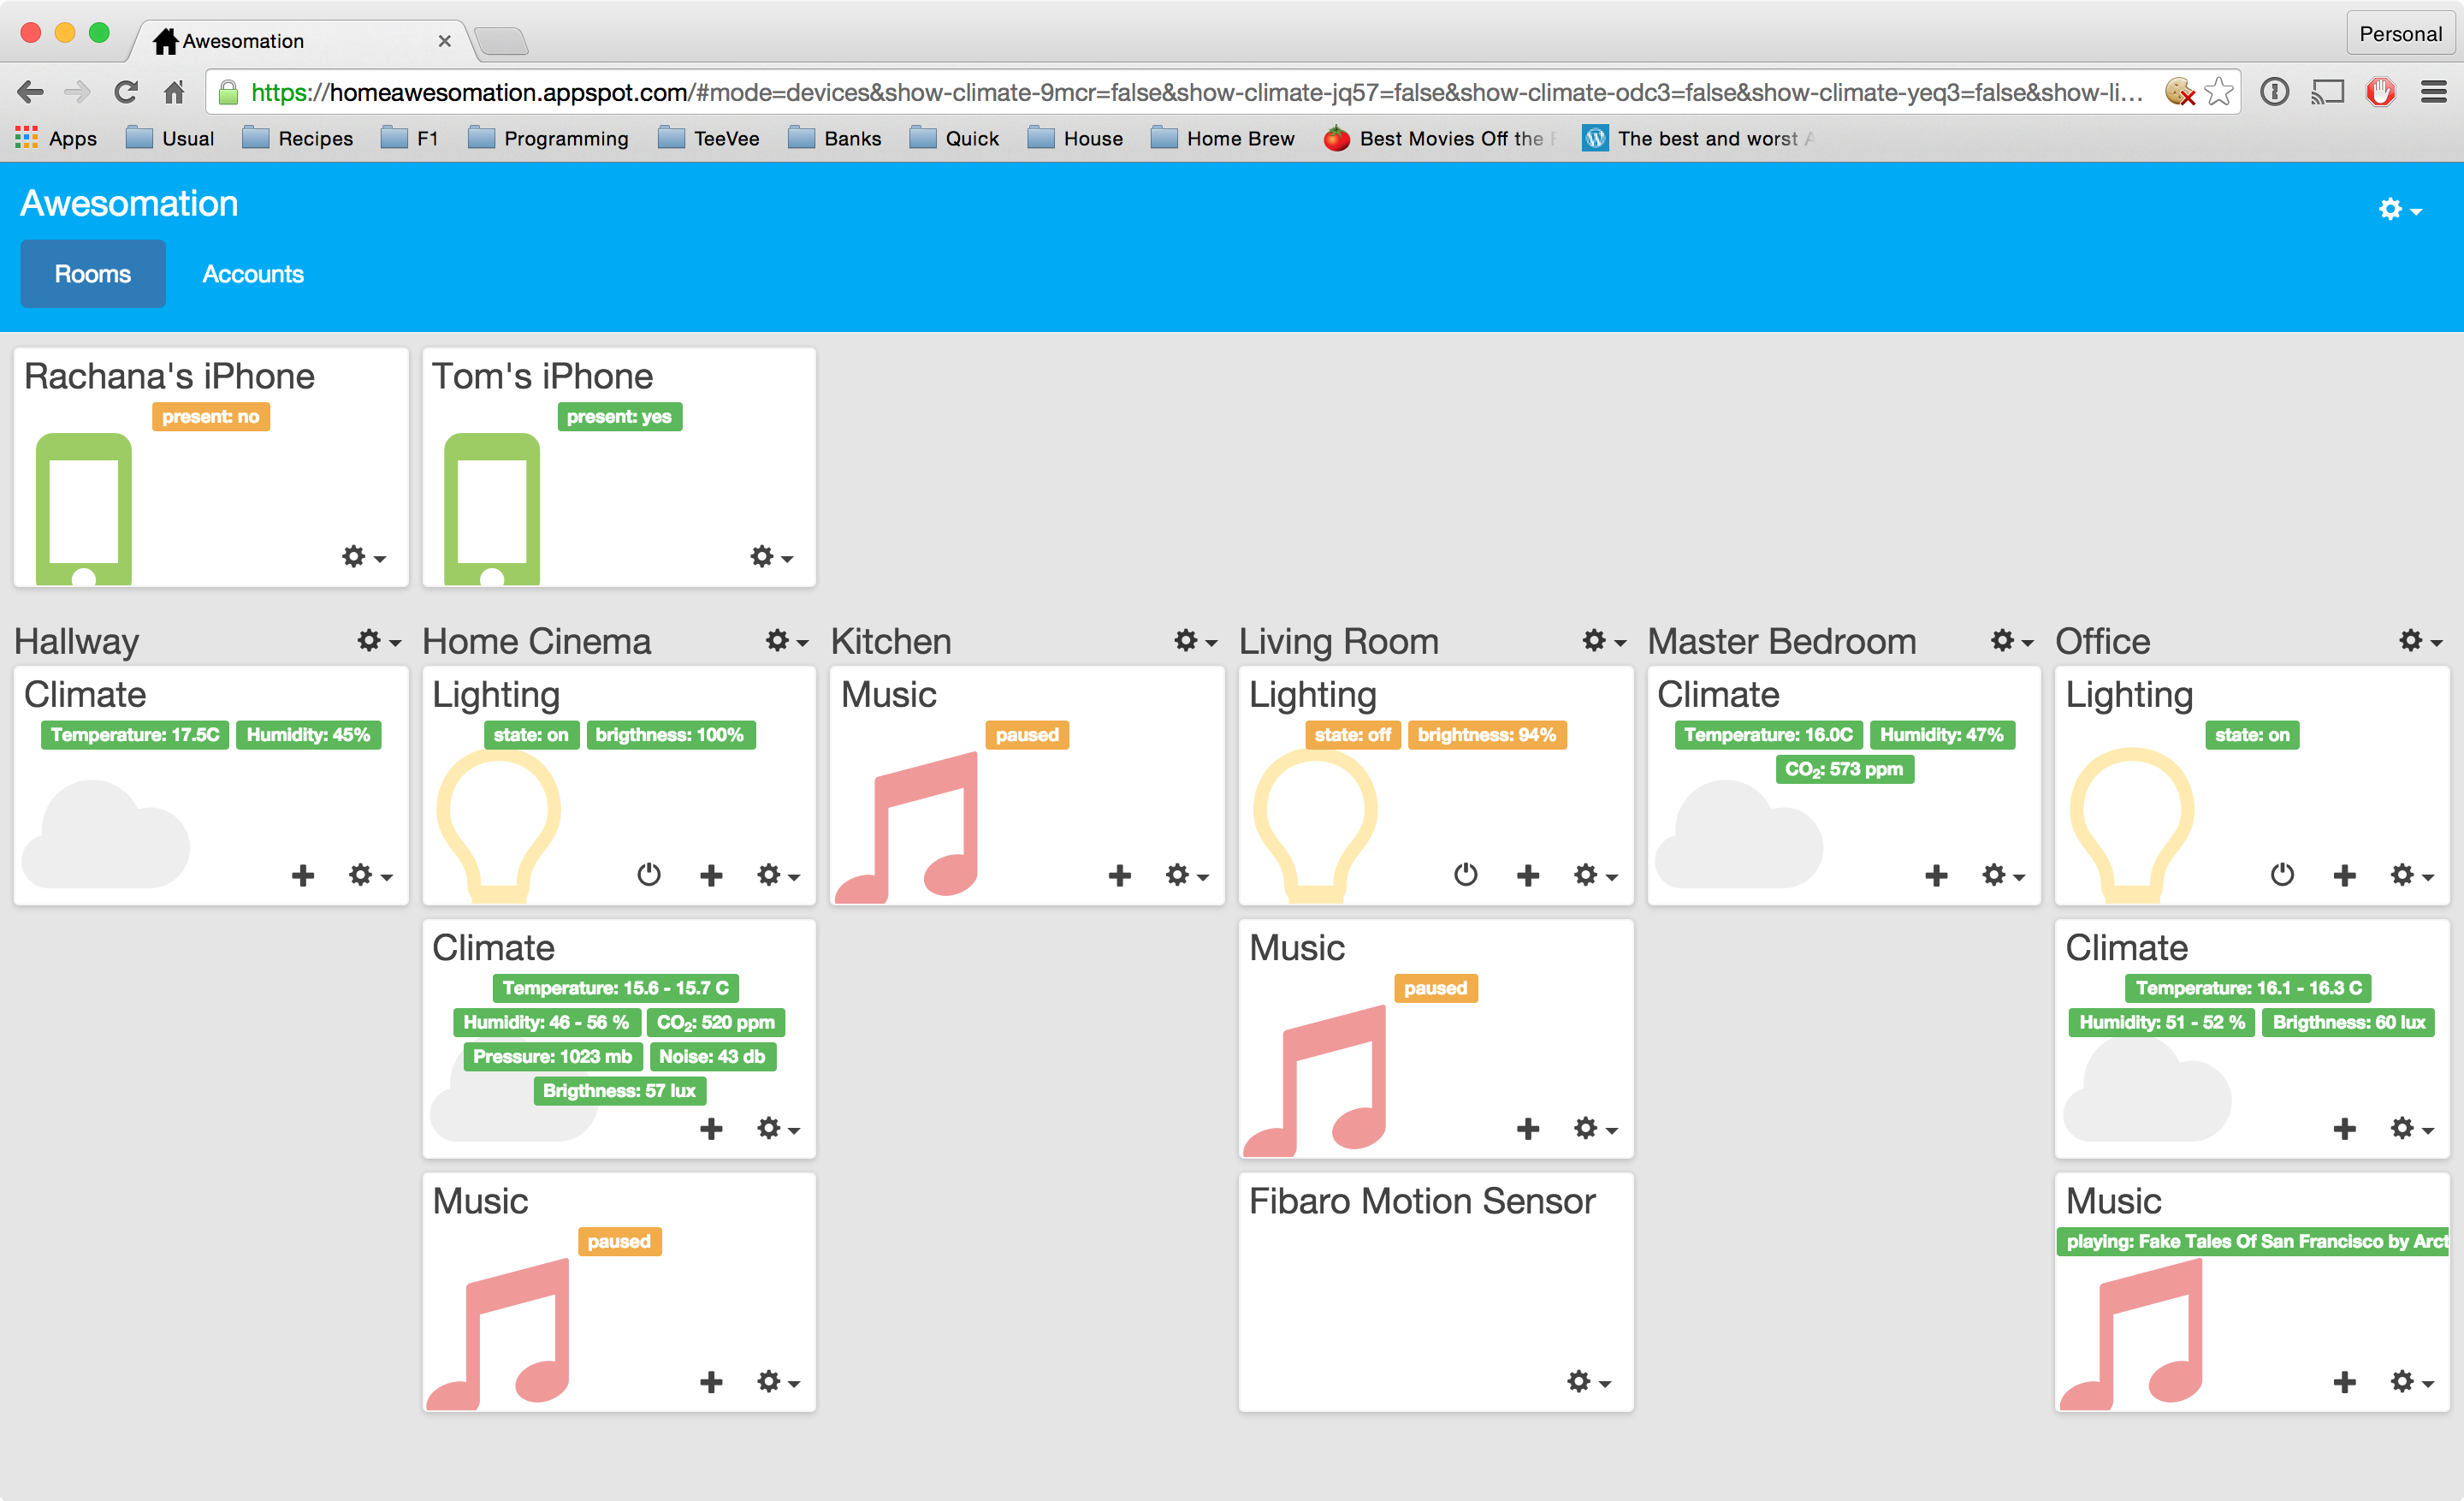
Awesomation houses can be shared with other Google accounts, increasing WAF. Use the 'Configuring sharing...' option on the top right menu to invite others to your house.
Awesomation supports OAuth 2.0 authentication, allowing other app to access and control you devices (with your permission!). This is used by the prototype iOS app.
Awesomation currently implements the following behaviours:
- If motion is sensed in a room, the lights are turned on.
- If your phone is detected on the network, Nest is set to home; otherwise, set to away.
- Lights can be automatically dimmed into the evening.
- A learning algorithm is used to compensate for unreliable or insensitive motion sensors.
Planned features:
- If motion is detected and your phone isn't on the network, an alert is sent.
You can run the 'local' proxy code on any unix machine (tested on Mac OS X and Debian), and if you don't have any zwave or 433Mhz devices, its as easy as:
sudo pip install netifaces

git clone https://github.com/tomwilkie/awesomation.git
cd awesomation
git submodule init; git submodule update

make runpi
If you want to use 433Mhz or zwave devices, you'll need is a Raspberry Pi running Raspbian - I used the 2014-12-24 build. On the Pi, run:
sudo apt-get install libudev-dev cython python-dev swig python-setuptools
sudo easy_install pip
sudo pip install netifaces

git clone https://github.com/tomwilkie/awesomation.git
cd awesomation
git submodule init; git submodule update
cd third_party/open-zwave; make; sudo make install
cd third_party/python-openzwave; python setup-lib.py build; sudo python setup-lib.py install
cd third_party/wiringPi/wiringPi; make; sudo make install
cd third_party/rcswitch-pi; make; make install

make runpi
The proxy code will print out something like this:
2015-01-09 14:20:19,104 INFO pushrpc.py:40 - I am proxy '614d1ad1b9f446418db40791f5c5ec3f'
Then, go to http://homeawesomation.appspot.com - you will be asked to login with your Google credentials, and this will automatically create an account for you.
In the top left of 'Rooms and Devices' page, select 'Add new device' from the dropdown in the top right. Select 'Awesomation Proxy' enter the Proxy ID from above. This will associate your proxy with your account.
Then, add other devices, rooms etc. Also, you might want to run the proxy in a screen session, just in case the ssh connection drops. Have fun!
NB if you're following on, make sure you run git submodule sync after a pull - we
regularly change submodule origins, and just running git submodule update will miss this.
This step is totally optional - you are more than welcome to use my hosted code as http://homeawesomation.appspot.com. If you wish to develop the server-side code, you'll need to host your own server instance. To do this:
- Sign up for an App Engine account, Pusher account, Netatmo developer account, Nest deveoper account and AWS account.
- Make a copy of src/common/creds.example as src/common/creds.py and put you AWS, Pusher, Netatmo and Nest credentials in there.
- Edit src/app.yaml and common/public_creds.py for the name of your app engine app and Pusher id.
The 'architecture' is client-server, with a Raspberry Pi based proxy running in the home and the 'logic' running in the Cloud (on Google App Engine). This allows the cloud app to access local wifi, zwave and 433Mhz devices.
The client/server model was chosen as I wanted to integrate with internet enabled apis/devices, like the Nest and Netatmo. These APIs require pre-registered OAuth callbacks, and as far as I can tell, cannot be made to work if the callback address is different for different users.
The server-side logic has the concept of rooms, and when motion is sensed in a room the lights in that room are turned on.
Pusher is used to send commands from the server app to the client app. Credentials for the Pusher account are stored in a private subrepo; you will need to setup your own.
The server runs on Google App Engine; this seems to work well enough for these purposes. The client (sometimes referred to as the proxy) runs on a Raspberry Pi in the home; an Aeon Labs Z Stick, a simple 433Mhz transmitter and a Wifi stick are connected to a USB hub, which in turn is connected to the Pi.