Unlock the Tesla charge port latch by pushing a doorbell button on the wall. The doorbell push button is wired to a Raspberry Pi Zero W, which has some JavaScript code to send a request to the Tesla API in the cloud.
This video shows how it works:

Note: the Windows specific steps have not been tested!
You need the following hardware components and equipments. The links are examples where you can buy the parts. You may find similar products elsewhere for lower price.
-
Singlecore wire (1m)
-
USB charger (min 2.5A/13W)
-
Honeywell Home D680 QUADRA (low voltage 1-24V doorbell push)
-
MicroSD memory card (min 16GB, class 10)
-
USB MicroSD memory card reader

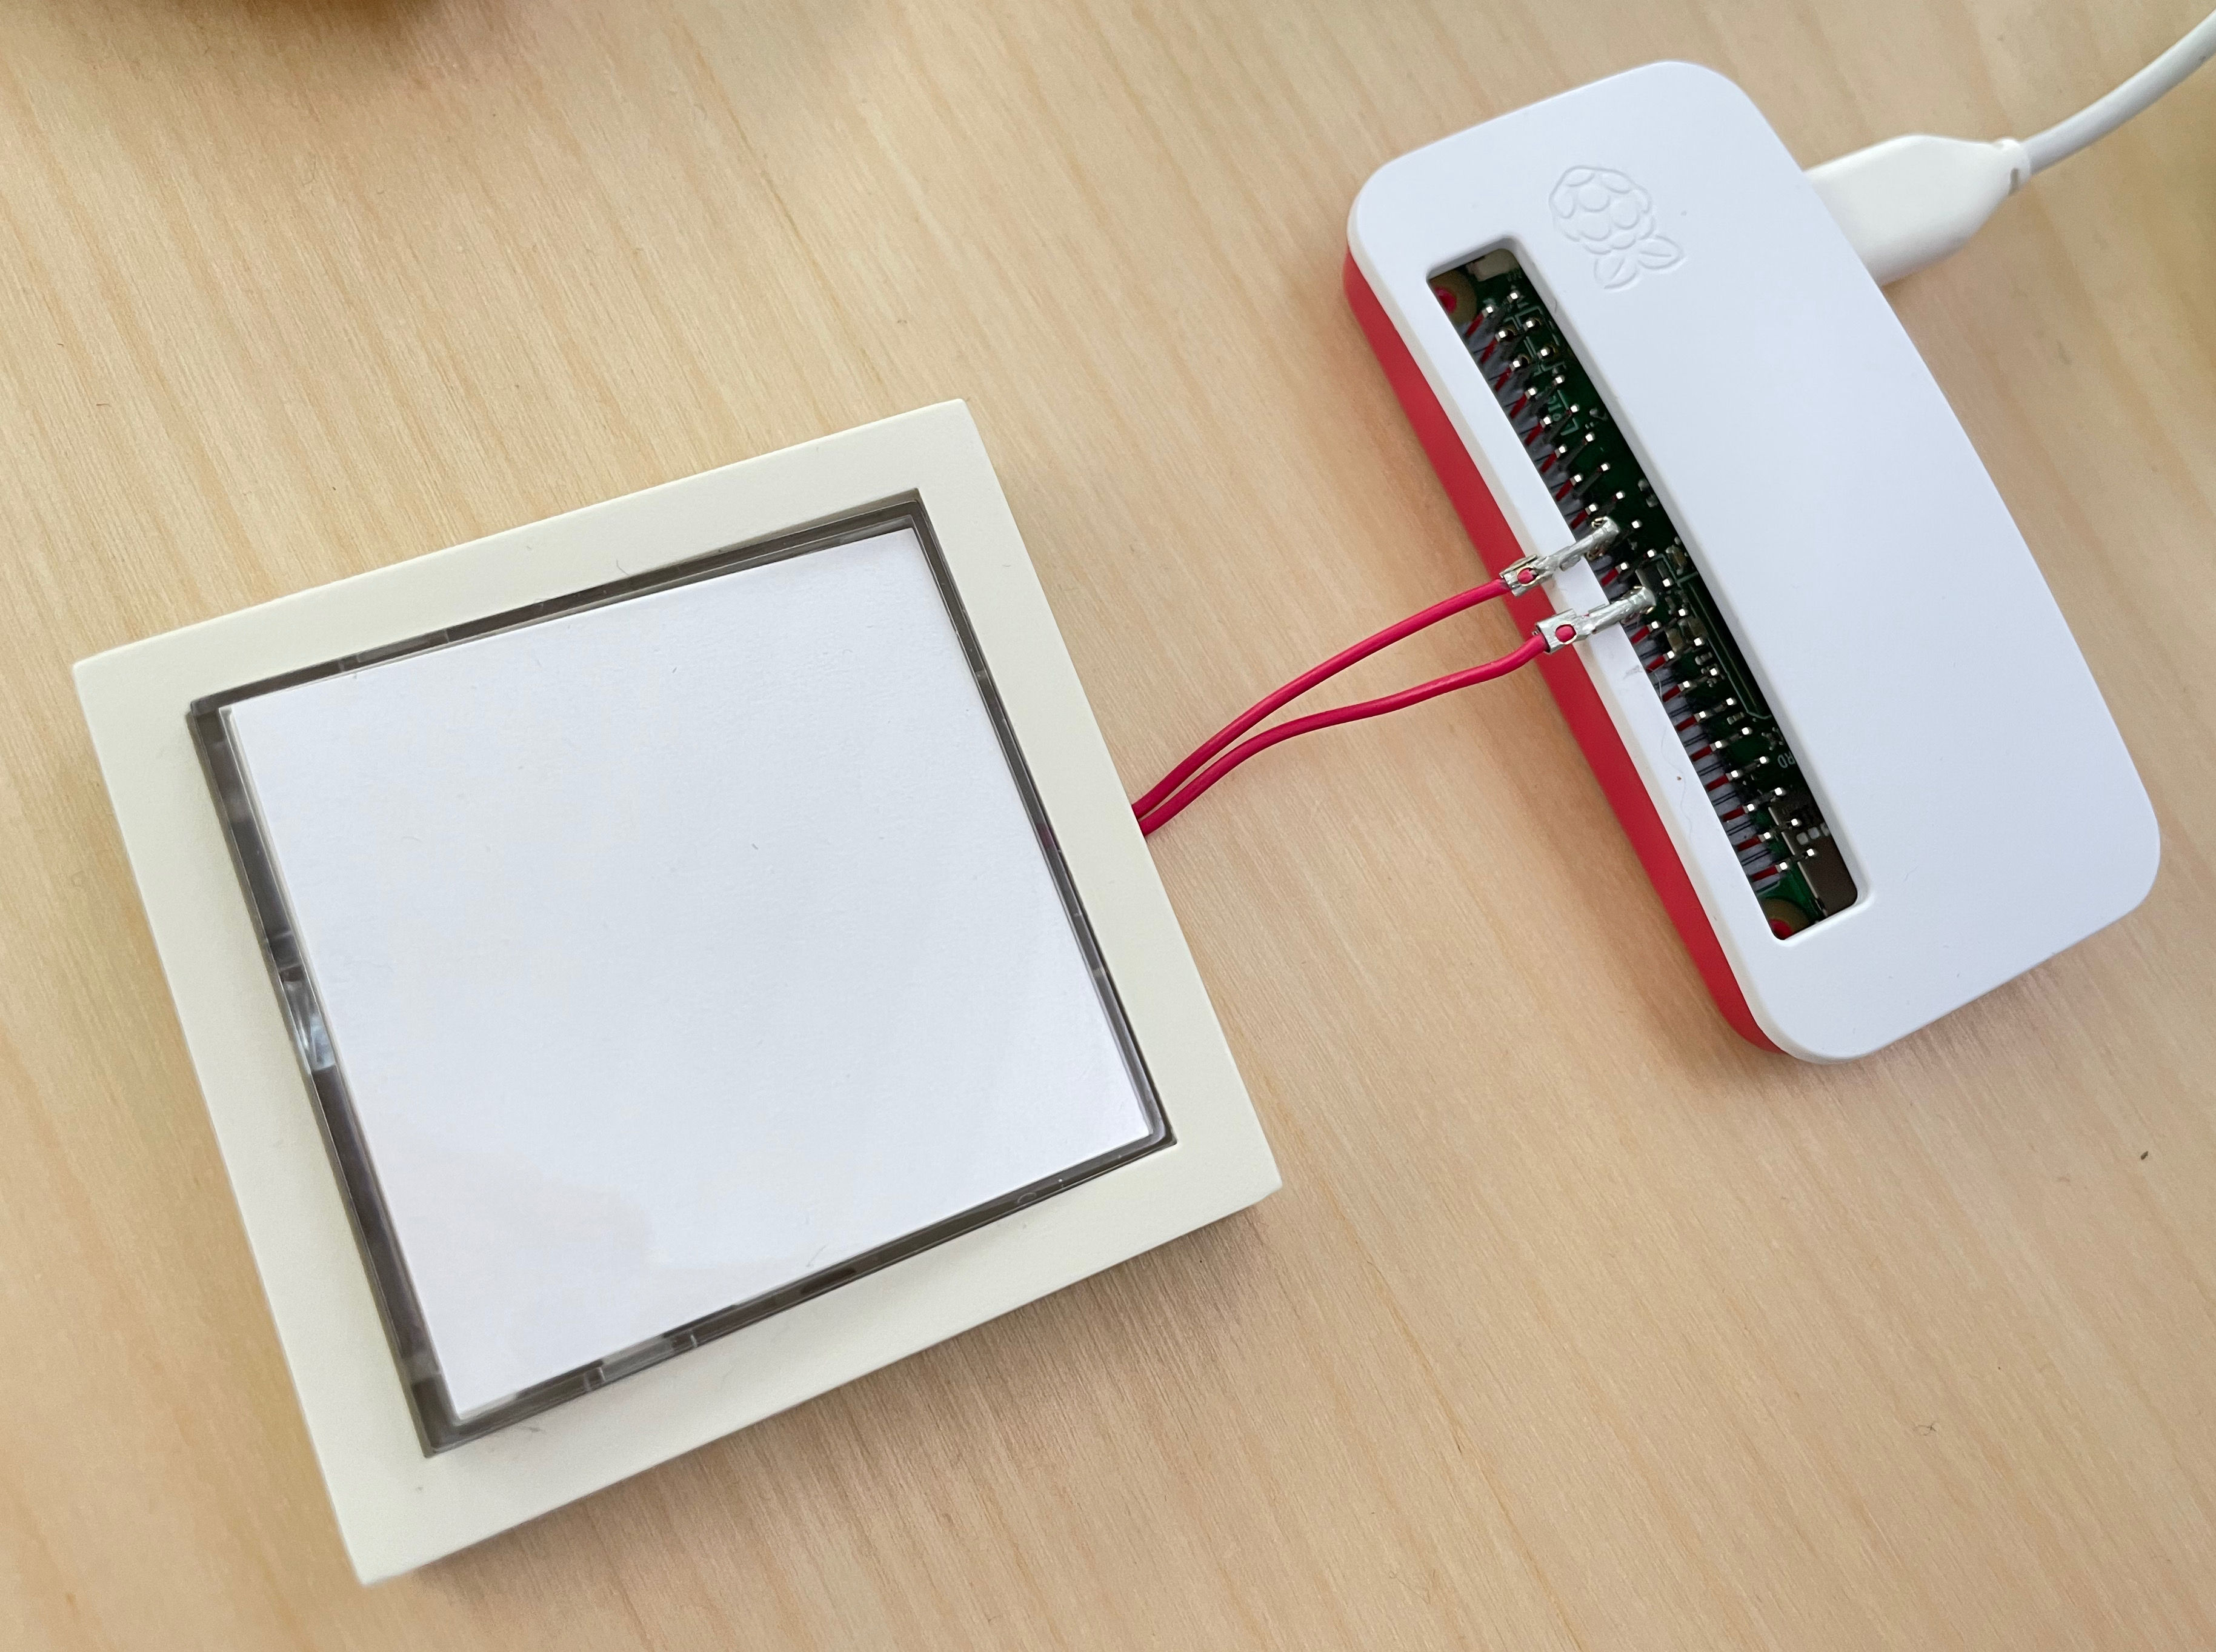
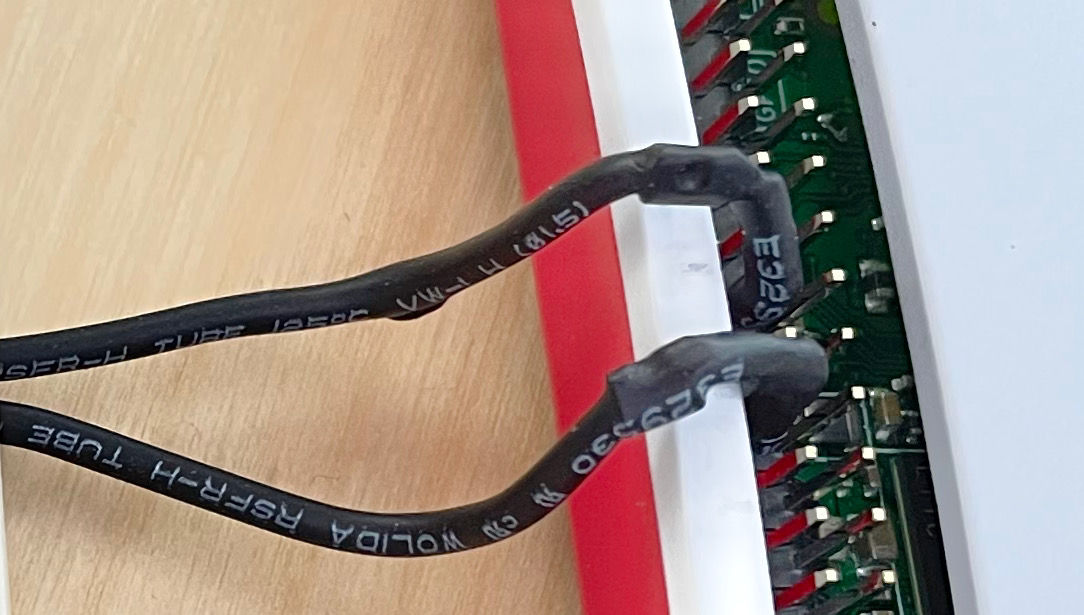
Connect wires from the doorbell push connectors to Pi GPIO 8 (pin 24) and GROUND (pin 20). See Raspberry Pi Pinout. If the pin header connectors are too bulky, just leave the black plastic part out, bend the metal part and cover it with a heat shrinking tube.
Connect the memory card to your PC.
Install and start Raspberry Pi Imager
Make the following selections:
Operating System:
  Raspberry Pi (other)
    Raspberry Pi OS Lite (32-bit)

Storage:
  Memory card

Write
Remove and reinsert the memory card to the reader.
Windows
- Open Notepad
- Save an empty file to the memory card (a drive called
boot). Name the file as "ssh" (including the quotes to prevent Notepad from adding the .txt extension).
Mac
- Open Terminal
touch /Volumes/boot/ssh
Create a text file named "wpa_supplicant.conf" to the memory card with the following content. Replace wifiName and wifiPassword with the name and password of you Wi-Fi. Mac: nano /Volumnes/boot/wpa_supplicant.conf.
country=FI
ctrl_interface=DIR=/var/run/wpa_supplicant GROUP=netdev
update_config=1

network={
  scan_ssid=1
  key_mgmt=WPA-PSK
  ssid="wifiName"
  psk="wifiPassword"
}
Open the file config.txt in the memory card, and add the following line to the very bottom of the file and save:
dtoverlay=dwc2
Open cmdline.txt and add the text modules-load=dwc2,g_ether after the word rootwait, and save the file. There are no linebreaks in this file.
console=serial0,115200 console=tty1 root=PARTUUID=e8af6eb2-02 rootfstype=ext4 elevator=deadline fsck.repair=yes rootwait modules-load=dwc2,g_ether quiet init=/usr/lib/raspi-config/init_resize.sh
- Eject the card from your PC and insert it to the Pi.
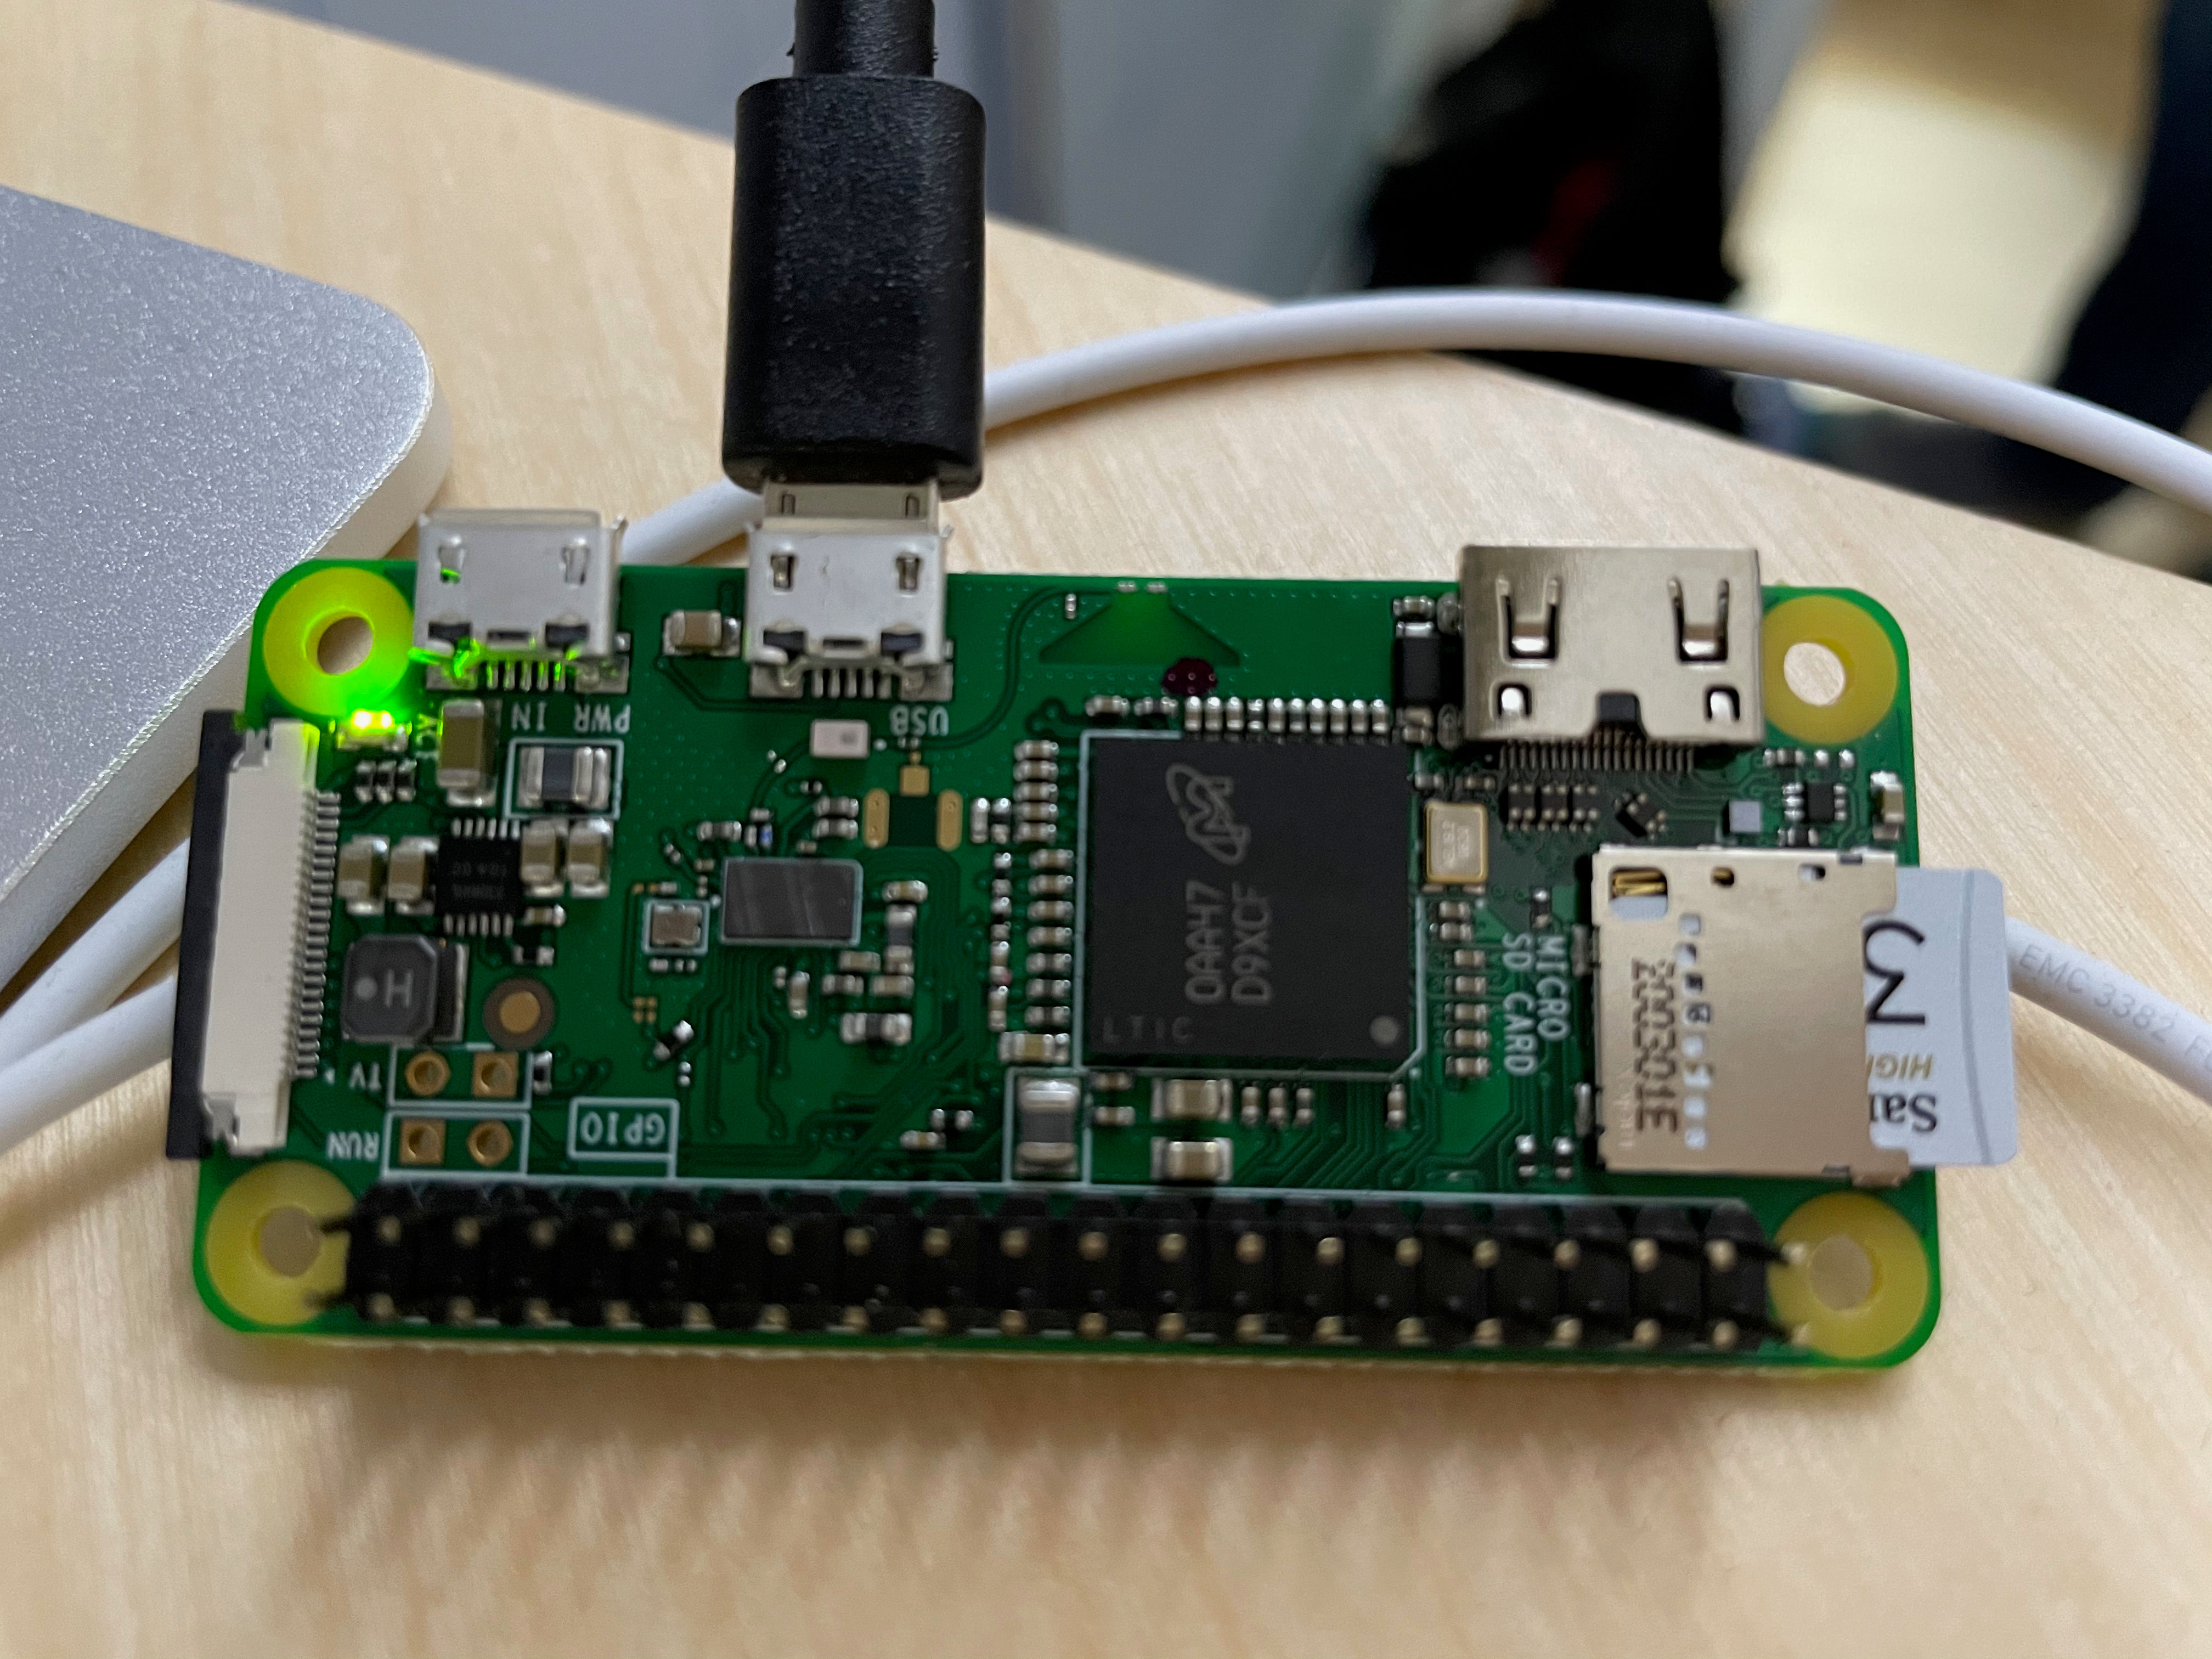
- Connect the power adapter to the port labeled
PWR INon the Pi. - Wait about 90 seconds until the green led in Pi stops flashing and stays solid green.
- Mac: Open Terminal app. Windows: Press
Windows+Xand clickCommand Prompt (Admin) arp -na- Find a line with address
b8:27:eb. Something like this:
? (192.168.1.230) at b8:27:eb:14:69:78 on en0 ifscope [ethernet]
- Copy the IP address (it probably is something else than 192.168.1.230)
Windows
-
Install Putty SSH client
-
Enter
raspberrypi 192.168.1.230as the host name you wish to connect to in Putty, and click Open. -
Click Ok if you get a security warning alert.
-
Mac
- Terminal:
ssh pi@192.168.1.230 - Answer
yesto the following question, if you see one
The authenticity of host '192.168.1.230 (192.168.1.230)' can't be established.
ECDSA key fingerprint is SHA256:Y6j2MbiAsPFb1Tvg2ilUbcokq4Y3Cd23IoeGYRn+W1o.
Are you sure you want to continue connecting (yes/no/[fingerprint])? yes
Enter password raspberry:
pi@192.168.1.230's password: raspberry
sudo passwd pi- Enter a new password
su - pi- The new password again
sudo apt updatesudo apt full-upgrade- Answer
Yif you see this question:
After this operation, 7,435 kB of additional disk space will be used.
Do you want to continue? [Y/n] Y
-
Wait for several minutes...
-
sudo apt install git -
git --version, should print something like
git version 2.20.1
git clone https://github.com/tapz/teslapizero.git
-
curl -o install-node.sh https://raw.githubusercontent.com/sdesalas/node-pi-zero/master/install-node-v14.16.0.sh -
sudo chmod +x install-node.sh -
./install-node.sh -
node -v, should print:
v14.16.0
npm install -g npm@latestnpm -v, should print something like:
7.7.4
cd teslapizeronpm install --only=prodnpm rebuildnpm run login- Enter your Tesla e-mail, password and MFA code
- Select your vehicle (VIN code and name displayed)
node index- Push the doorbell button
- Control-C to exit
sudo npm install pm2 -gnano ~/.profile- Add this as the last line of the file:
PATH="/opt/nodejs/lib/node_modules/pm2/bin:$PATH"
- Save file: Control-X, y
source ~/.profilepm2 start index.js --name teslapizeropm2 startup systemd- Copy-paste and run the printed line. It should be like this:
sudo env PATH=$PATH:/opt/nodejs/bin /opt/nodejs/lib/node_modules/pm2/bin/pm2 startup systemd -u pi --hp /home/pi
pm2 savepm2 list, should print:
┌─────┬────────────────┬─────────────┬─────────┬─────────┬──────────┬────────┬──────┬───────────┬──────────┬──────────┬──────────┬──────────┐
│ id  │ name           │ namespace   │ version │ mode    │ pid      │ uptime │ ↺    │ status    │ cpu      │ mem      │ user     │ watching │
├─────┼────────────────┼─────────────┼─────────┼─────────┼──────────┼────────┼──────┼───────────┼──────────┼──────────┼──────────┼──────────┤
│ 0   │ teslapizero    │ default     │ 0.0.1   │ fork    │ 735      │ 7m     │ 0    │ online    │ 0%       │ 40.1mb   │ pi       │ disabled │
└─────┴────────────────┴─────────────┴─────────┴─────────┴──────────┴────────┴──────┴───────────┴──────────┴──────────┴──────────┴──────────┘
sudo reboot
Login with SSH to the Pi
tail -1000 teslapizero/teslapizero.log
and for unhandled errors:
pm2 logs --lines 1000
Login with SSH to the Pi
cd teslapizeronpm run login
Login with SSH to the Pi
cd teslapizerogit pullnpm updatenpm rebuildpm2 restart teslapizero
Copyright (c) 2021 Tapani Saarinen