- Python 3.10
- postgres 13.2
- Django 4.1
The following steps will walk you thru installation on a Mac. Linux should be similar. It's also possible to develop on a Windows machine, but I have not documented the steps. If you've developed the django apps run on Windows, you should have little problem getting up and running.
Please follow the instructions to run the project in your local dev server
git clone https://github.com/mbrsagor/djangoCelery.git
cd djangoCelery
virtualenv venv --python=python3.10
source venv/bin/activate
pip install -r requirements.txt
|--> sample.env
|--> .envsource venv/bin/activate
./manage.py migrate
./manage.py runserver
On Mac OS
brew install redis
brew services start redis
Brew permission errors? Try sudo chown -R "$USER":admin /usr/local
Open & Test Redis: open terminal
redis-cli ping
Output:
PONG
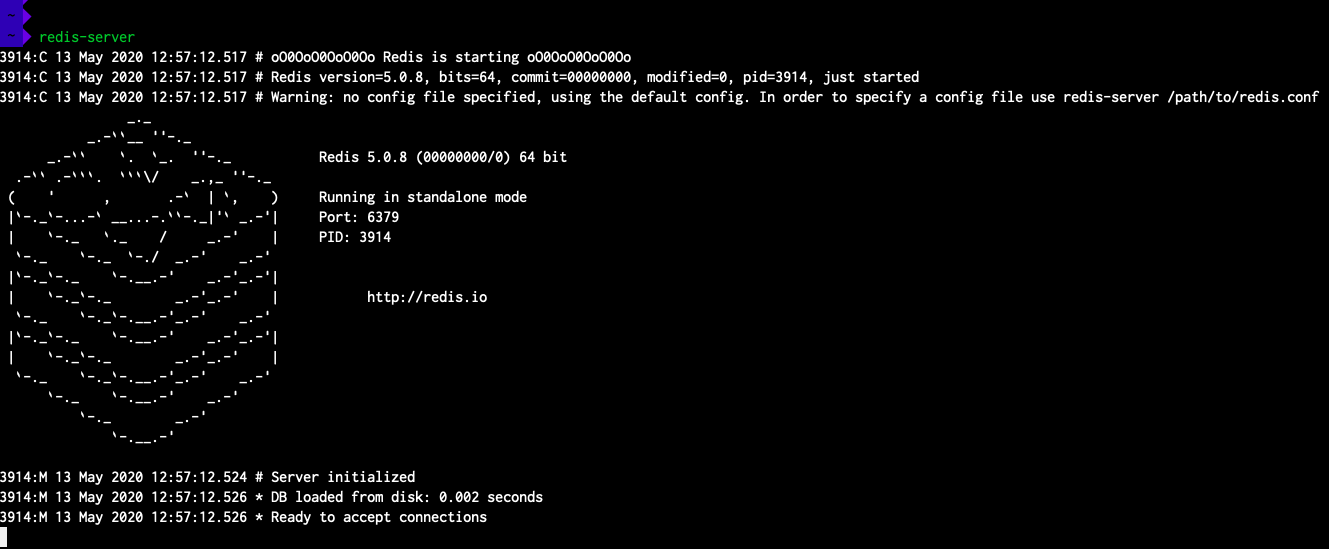
Then run redis server: redis-server
pip install "celery[redis]"
pip install redis
pip install django-celery-beat
pip install django-celery-results
pip freeze > requirements.txt
OTHER_APPS = [
    'django_celery_beat',
    'django_celery_results',
]
Then
CELERY_BROKER_URL = 'redis://localhost:6379'
CELERY_RESULT_BACKEND = 'redis://localhost:6379'
CELERY_ACCEPT_CONTENT = ['application/json']
CELERY_TASK_SERIALIZER = 'json'
CELERY_RESULT_SERIALIZER = 'json'
-
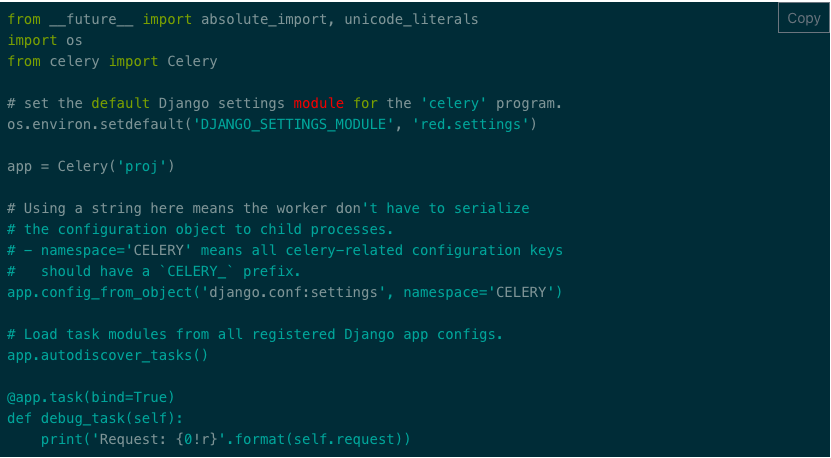
Navigate to root project config module (where
settingsandurlsmodules are) -
Navigate to root project config module (where settings and urls modules are)
-
Then clone the project from git then the documentation follow. Hopefully, the project will run successfully. If any
kind of errors please search google or youtube you will get very good result.
./manage.py makemigrations
./manage.py migrate
./manage.py createsuperuser
- Run the Celery Consumer Worker (locally). Make sure virtualenv is activated and this command where you run runserver*
-
First run a new terminal and follow the command
celery -A CeleryTask worker -l info -
Then open another terminal and run the command.
celery -A CeleryTask beat -l info -S django
- To see Celery Worker status