I'm currently a Ruby/Rails/iOS app developer and instructor, this is my personal Vim configurations and some plugins which I used in my daily job, and I removed and reorganized redundant settings and plugins from my another vim repository https://github.com/kaochenlong/eddie-vim
I put Vim related settings in plugin/settings/settings.vim, and isolated other plugins' settings in plugin/settings directory.
You might notice that there are several vimrc files:
vimrc, standard version vimrc.vimrc_easy, same as vimrc, but add some easier key mapping for new Vimer.vimrc_pro, same as vimrc, but remove the arrow keys mapping.vimrc_experimental, same as pro-vimrc, but just for experimental purpose.
you can make a symbolic link of your ~/.vimrc to any one of them as you wish :)
my Vim looks like:
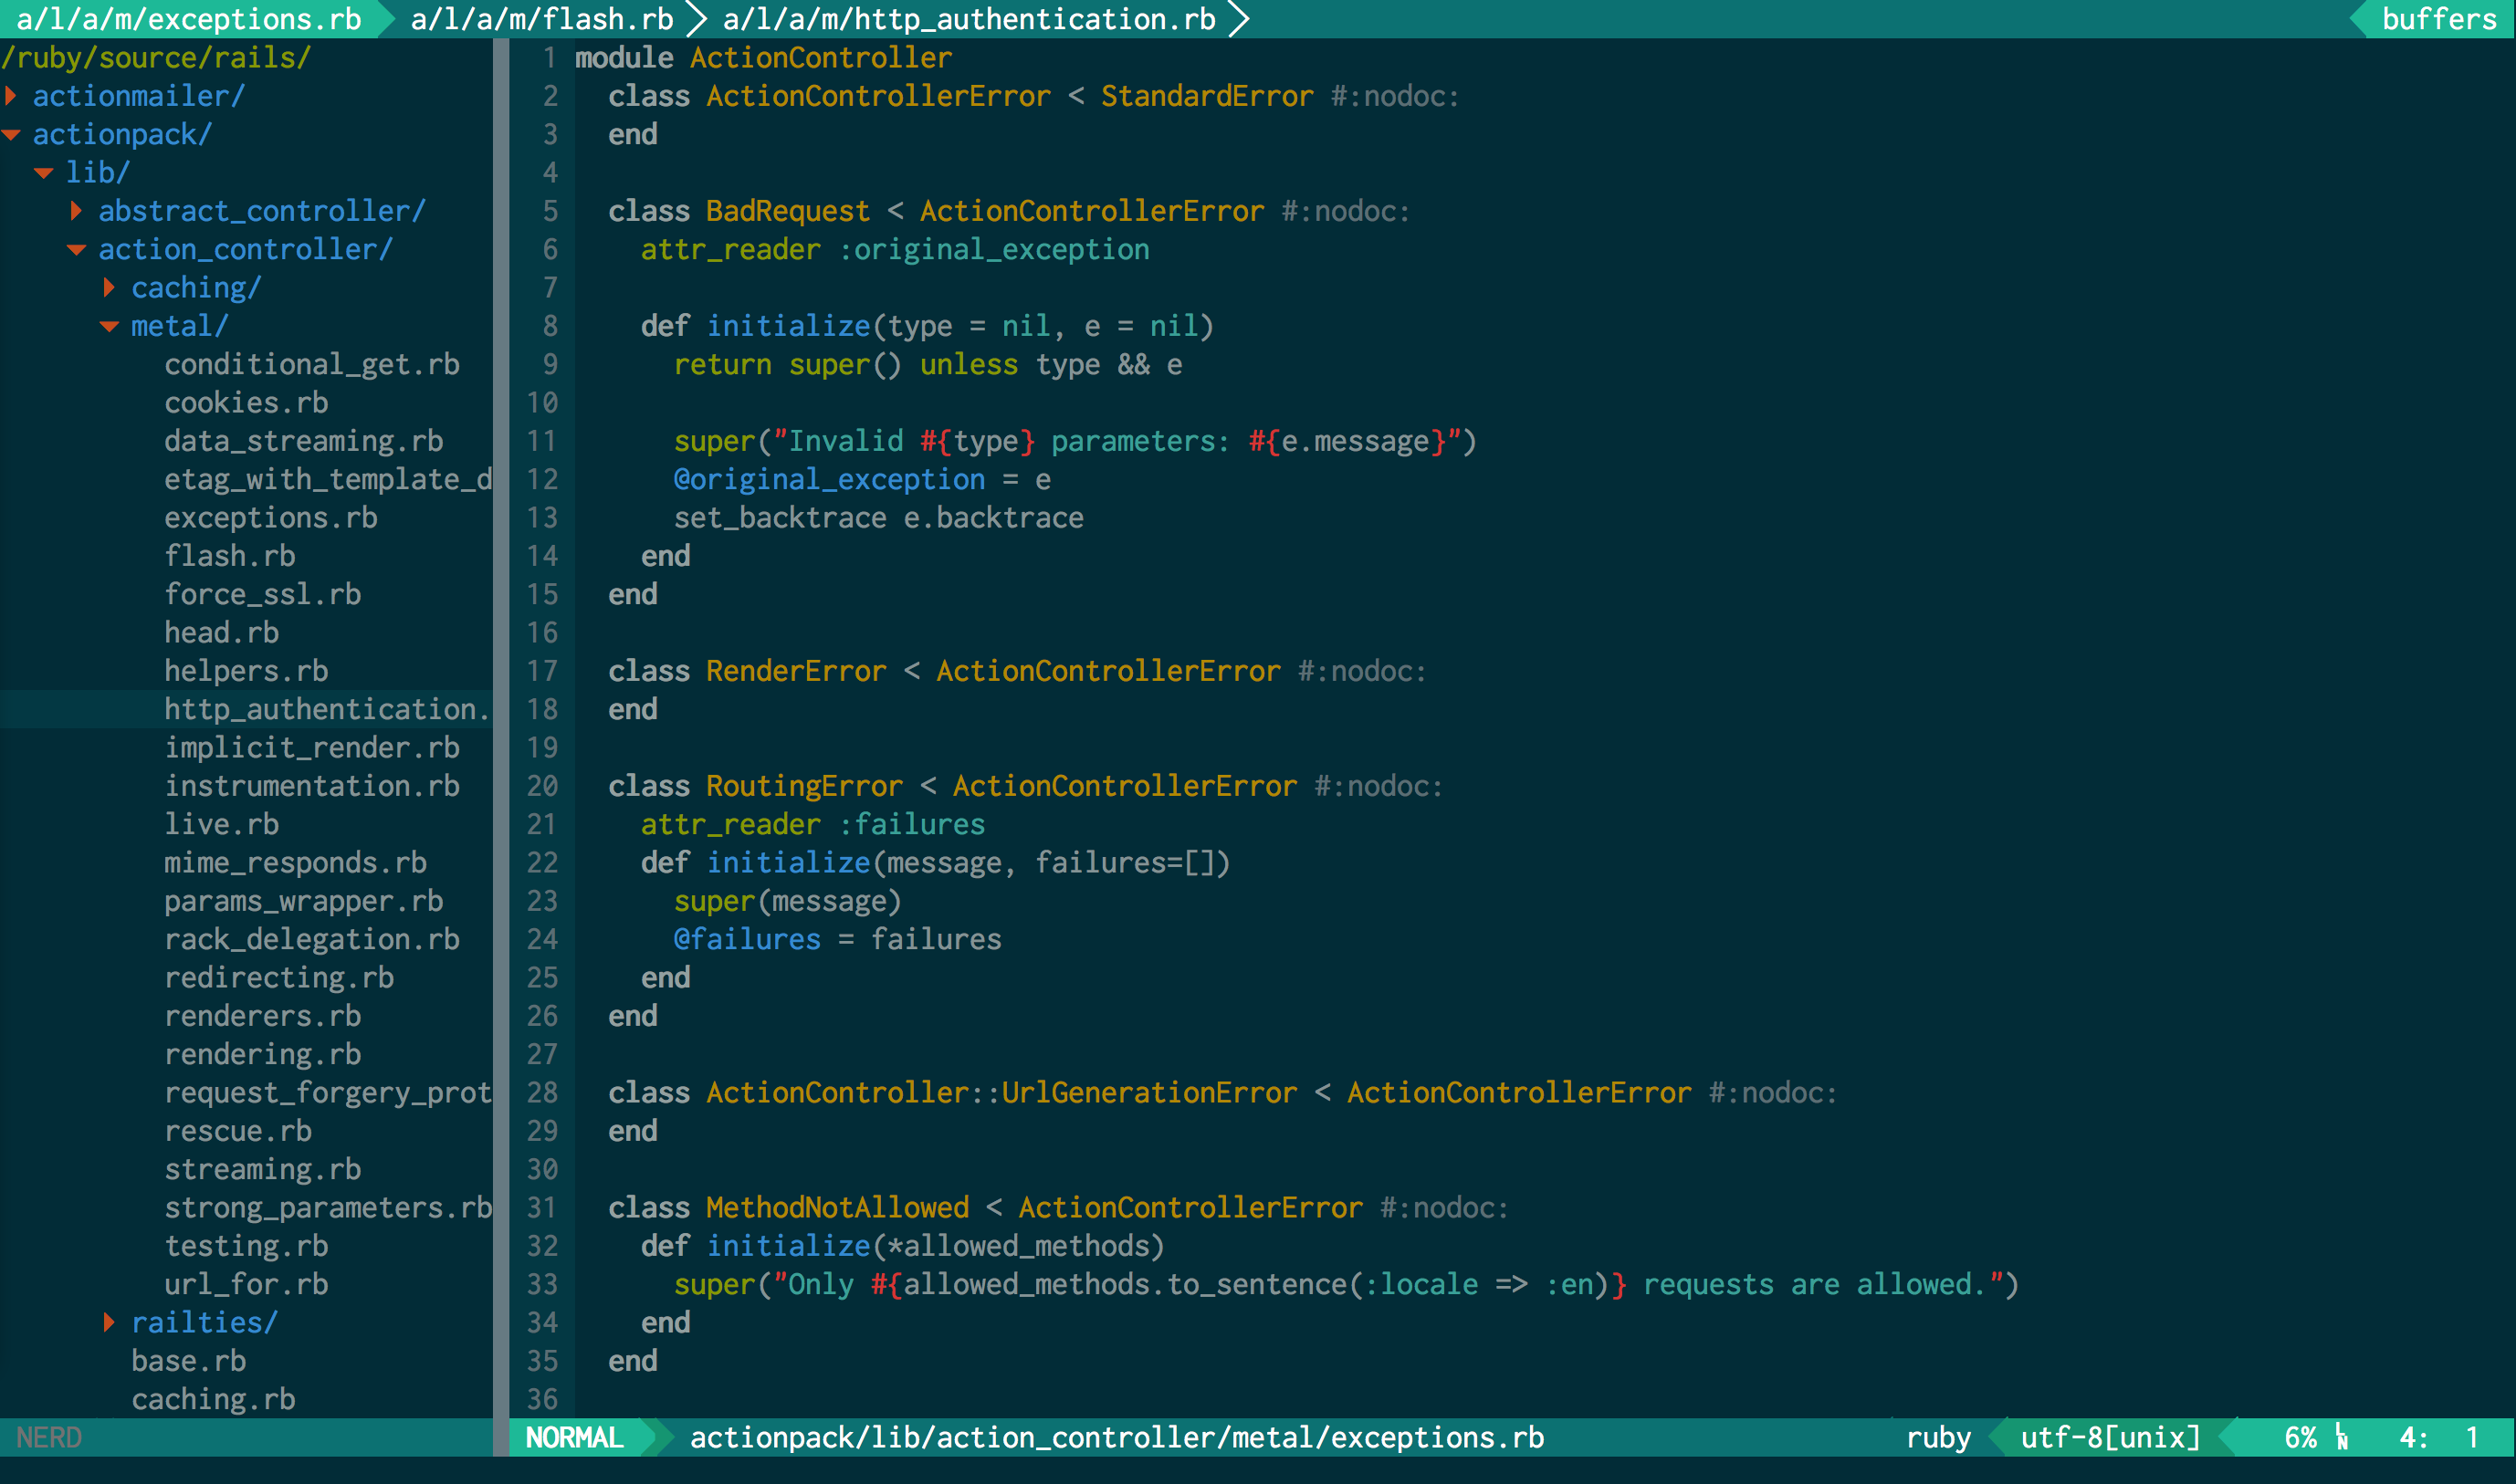
color theme: solarized dark
If you already install git in your machine, and you trust me and my automatic install shell script, you can install my vimrc via curl or wget, just copy one of the following line and paste in terminal:
-
via
curl:sh <(curl -L https://github.com/kaochenlong/eddie-vim2/raw/master/utils/install.sh) -
or via
wget:sh <(wget --no-check-certificate https://github.com/kaochenlong/eddie-vim2/raw/master/utils/install.sh -O -)
-
BACKUP your
.vimdirectory and.vimrcfirst.(IMPORTANT!) -
cd ~to change directory to your home directory. -
copy files to your home directory:
git clone git://github.com/kaochenlong/eddie-vim2.git .vim -
make a symbolic link to vimrc:
ln -s .vim/vimrc .vimrc -
if you're still not familiar with the movements in vim by HJKL or yanking and pasting text, I've made a easier version:
ln -s .vim/vimrc_easy .vimrc -
if you use GUI version VIM, such as MacVim or GVim, you can also link to
.gvimrc:ln -s .vim/gvimrc .gvimrc -
if you use Airline under Ubuntu or something which can not show the correct icons/fonts on the bottom, you can check this link, patch the font and it should look pretty nice.
-
you might need to install
ackorsilver searcherif you useack.vim.
-
my
<leader>key is\. -
Toggle between working mode and presentation mode by
<leader>z, but it only works in GUI version Vim. You can check here to see how it looks like. -
some usually used key mappings in normal mode:
<F2>to toggle NERDTree on and off.<F4>to toggle Taglist window.<F5>is the script runner, according to it's filetype, it will run Ruby(*.rb) ,Python(*.py) or PHP(*.php) file, even CoffeeScript(*.coffee, but you may have to install CoffeeScript first). If the filetype is VimScript,<F5>will reloadrun:source %and reload the current file.- hit
<ctrl>pwill launch a quick window to match keywords from your current working directory, not only file name, but also path name. - hit
<leader>twice to toggle comment on and off. <tab>and<shift><tab>to increase and decrease the syntax identation.
-
Remove tailing whitespace automatically while saving.
if you can not found ctags command, just find your ctags path and replace my settings in plugin/settings/ctags.vim file:
let Tlist_Ctags_Cmd = '/your/path/to/ctags'
and Exuberant Ctags is recommended.
Enjoy it, and if there's any question or comment, feel free to let me know, or just fire an issue here :)
Eddie Kao (eddie@digik.com.tw)
我目前是位 Ruby/Rails/iOS app 的開發者/講師,這是我自己每天工作上會用到的 Vim 設定檔跟用到的 plugin。其實這是我從另一個專案拿掉不常用的設定及 plugin,重新整理而成的。
我把 Vim 的主要設定檔放在 plugin/settings/settings.vim,並且把其它 plugin 的設定放在 plugin/settings 資料夾中。
你可能有發現,我有好幾個 vim 設定檔:
vimrc, 標準版本。vimrc_easy, 同 1,但加了一些給新手的對應鍵(例如 Ctrl+c、Ctrl+v 的複製貼上)。vimrc_pro, 同 1,但把方向鍵拿掉了(就是強迫自己只能使用 h, j, k, l 的意思)。vimrc_experimental, 同 3,但有時候會試一些實驗性的功能。
你可以選一個你喜歡的來用(做 symbolic link 連結到 ~/.vimrc 即可)
現在它看起來像這樣:
色彩主題:solarized dark
如果你已在你的電腦安裝 git,而且你相信我這個自動安裝程式沒有放怪怪的東西在裡面的話,你可以使用下面這兩種方式來安裝:
-
使用
curl:sh <(curl -L https://github.com/kaochenlong/eddie-vim2/raw/master/utils/install_zhtw.sh) -
或使用
wget:sh <(wget --no-check-certificate https://github.com/kaochenlong/eddie-vim2/raw/master/utils/install_zhtw.sh -O -)
以上兩個隨便選一個你喜歡的,複製並在你的終端機視窗貼上指令即可。
-
先備份你的
.vim資料夾以及.vimrc設定檔(重要!) -
cd ~指令切換到 Home 目錄。 -
使用
git把檔案複製一份下來:git clone git://github.com/kaochenlong/eddie-vim2.git .vim -
使用
ln -s指令做一個 symbolic link 連到.vim/vimrc:ln -s .vim/vimrc .vimrc -
如果你對 Vim 的 HJKL 移動操作還不熟悉的話,可以試試簡單版的設定:
ln -s .vim/vimrc_easy .vimrc -
如果你有使用 GUI 版的 Vim,像是 MacVim 或 GVim,你可以順便連結一下
.gvimrc:ln -s .vim/gvimrc .gvimrc -
如果你的 Airline 看起來字形有些怪怪的,可以看一下這個連結,它有教你怎麼更新你的字型。
-
你如果要使用
ack搜尋的話,你會需要先安裝ack或silver searcher。
-
我的
<leader>鍵是\。 -
使用
<leader>z鍵可以快速切換工作模式以及演講模式,不過字型大小的調整只有在 GUI 版的 Vim 才有效,你可以看一下這個連結,看看它是怎麼玩的。 -
在一般(或命令)模式下常用的設定:
<F2>可開啟/關閉 NERDTree 視窗。<F4>開啟/關閉 Taglist 視窗。<F5>可以根據檔案類型直接在 Vim 視窗裡輸出程式的執行結果。(支援 Ruby、Python、PHP 以及 CoffeeScript 等程式)。如果是 VimScript,<F5>會直接重新載入目前這個檔案。<ctrl>p可快速搜尋目前所在資料夾之檔案。- 按
<leader>鍵 2 次可以加上或移除註解(根據檔案類型不同會有不同效果)。 <tab>以及<shift><tab>可以增加或減少程式碼縮排。
-
在存檔的時候,自動移除行尾的空白字元。
如果你發現找不到 ctags 指令,你可以找一下你電腦裡的 ctags 程式安裝路徑,然後把 plugin/settings/ctags.vim 裡的設定換掉:
let Tlist_Ctags_Cmd = '/your/path/to/ctags'
Exuberant Ctags 是個不錯的選擇。
希望有幫上大家的忙,如果有任何問題或建議,請別客氣讓我知道,或是直接在這裡開個 issue 也行 :)
高見龍 (eddie@digik.com.tw)