Tutorial Using the Jenkins Job DSL
Before proceeding, make sure to have the latest Job DSL plugin installed. Install it from the update center or use the .hpi file provided from this site.
This tutorial will walk you through how to create a single job using a DSL script; and then add a few more.
We use a Free-style Jenkins Job as a place to run the DSL scripts. We call this a "Seed Job". Since it's a normal Job you'll get all the standard benefits of Jenkins: history, logs, emails, etc. We further enhance the Seed Job to show which Jobs got created from the DSL script, in each build and on the Seed Job page.
The first step is to create this Job.
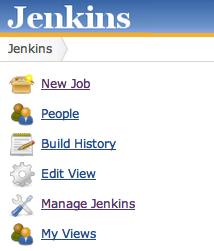
- From the Jenkins main page, select either the "New Job" or "Create new Jobs" link. A new job creation page will be displayed.
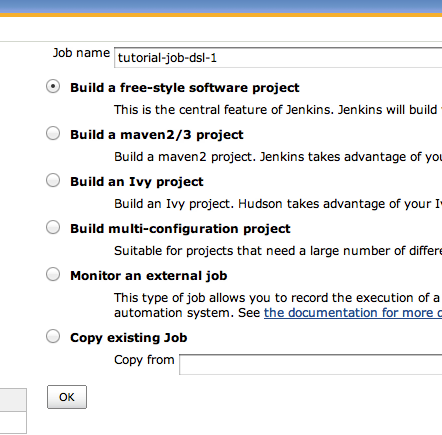
- Fill in the name field, e.g. "tutorial-job-dsl-1"
- Select the "Build a free-style software project" radio button.
- Click the OK button
Now that we have created our empty Seed Job we need to configure it. We're going to add a build step to execute the Job DSL script. Then we can paste in an example script as follows:
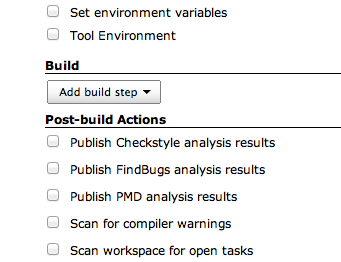
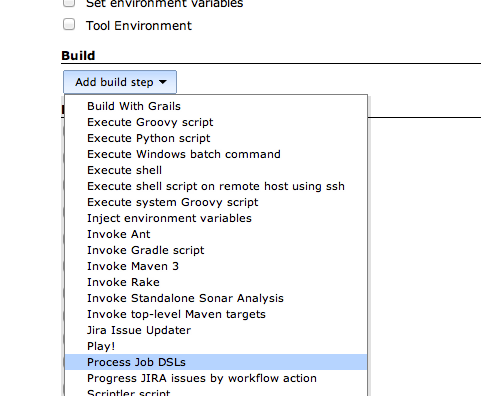
- On the configure screen, scroll down to the "Build: Add build step" pull down menu
- From the pull down menu, select "Process Job DSLs". You should be presented with two radio buttons. The default will be "Use the provided DSL script" and a text input box will be displayed below it.
- Copy the following DSL Script block into the input box. (Note: The job resulting from this will be called DSL-Tutorial-1-Test. It'll check a GitHub repo every 15 minutes, then run 'clean test' if there's any changes found.)
job('DSL-Tutorial-1-Test') {
    scm {
        git('git://github.com/quidryan/aws-sdk-test.git')
    }
    triggers {
        scm('H/15 * * * *')
    }
    steps {
        maven('-e clean test')
    }
}
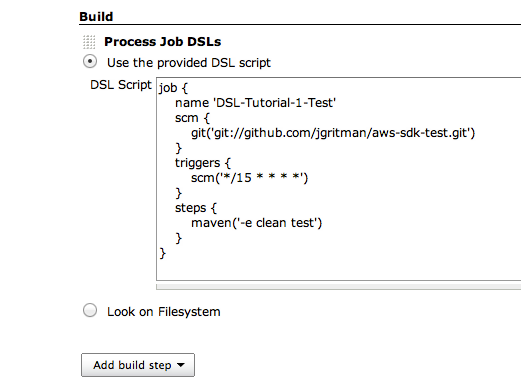
- Click the "Save" button. You'll be shown the overview page for the new Seed job you just created.
![]()
The Seed Job is now all set up and can be run, generating the Job we just scripted.
(Note: As it stands right now, we didn't setup any build triggers to run the job automatically but we could have, using the standard Jenkins UI in Step 2.)
Let's just run it ourselves manually.
- Click the "Build Now" link/button on the tutorial-job-dsl-1 overview page. It should only take a second to run.

-
Look at the build result to see a link to the new Job which has been created by the running of your DSL script in the Seed Job. You should see this in the section called "Generated Jobs". (If you don't see it, you probably have Auto-Refresh disabled. Enable it, or just refresh the page and then you'll see the new job.)
-
Follow this link to your new Job. You can run this new script-generated Job manually or wait the 15 minutes for the scm trigger to kick in.
(Note: if you have a new Jenkins server, you might be missing the Git plugin or a Maven installation which Jenkins knows about. That could cause this job to fail when run. If you need to add these, be sure to re-run the Seed Job to make sure the Scripted Job is configured correctly - it won't be if you ran without all the necessary plugins installed in Jenkins.)
(Additional Note: if the build still fails with these plugins / config set up, it may be because the new job is using a "default" maven rather than the one you just added.)
To show some more of the power of the DSL Plugin, let's create a bunch more Jobs.
- Go back to the 'tutorial-job-dsl-1' Seed Job
- Click the "Configure" link/button and navigate back down the the "Process Job DSLs" build step.
- Add the following into the text box, below the script which we added at the beginning.
(Note: The practicality of this block is questionable, but it could be used to shard your tests into different jobs.)
def project = 'quidryan/aws-sdk-test'
def branchApi = new URL("https://api.github.com/repos/${project}/branches")
def branches = new groovy.json.JsonSlurper().parse(branchApi.newReader())
branches.each {
    def branchName = it.name
    def jobName = "${project}-${branchName}".replaceAll('/','-')
    job(jobName) {
        scm {
            git("git://github.com/${project}.git", branchName)
        }
        steps {
            maven("test -Dproject.name=${project}/${branchName}")
        }
    }
}
That's it. Now you know how to make Seed Jobs, which can create a multitude of Scripted child Jobs. Take a look at some Real World Examples or jump ahead and read up on the DSL commands in detail for more fun.