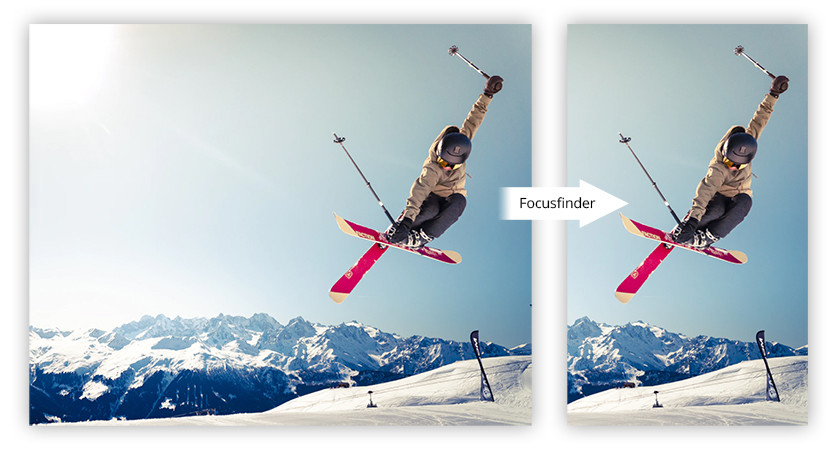
Focusfinder is a tool which finds a focus-point for any given image. this focus-point can then, for example, be used as a center point for cropping.
A neural network is trained with fastai to find the focus-point.
-
Get training data
In the directory /focusfinder/download/ run the following two commands to download images from nocaps and unsplash
node nocaps.js
node unsplash.js
The pictures are saved under /focuspoint/download/images/ram_images/...raw_images/ contains all raw training images, norm_images/ contains the same images but normalized, so that they all have the same size. labels/ is where the *.csv are saved, which basically are a table with a row for each image_name and its focus-point.
-
Set focus points by hand
skip this part if labels_nocaps.csv and labels_unsplash.csv are already there
For the training some focus-points have to be set by hand. These information should in the end be saved in a csv with the following format:
name x_p y_p EKf428HQ130.jpg 118.03252032520325 110.09756097560977 ... ... ... where x_p and y_p are the positions of the focus-point in pixel. -
Normalize images and csv
To train a neural network all images have to have the same size. Furthermore the focus-point is not necessarly given in pixel corrisponding to a resized img. Before using the script to do that, the download folder should look like this:
-
download/
- labels/
- unslash_labels.csv
- nocaps_labels.csv
- images/
- raw_images/
- nocaps/
- ...
- unsplash/
- ...
- nocaps/
- raw_images/
with this csv structure:
name x_p y_p fee73b1e0ea41b91.jpg 0.485 0.22875 ... ... ... To resize all images for which a focus-point is given use python3 transform_images.pyIt not only resizes the images but also creates a new *.csv with all focus-points relativ to the new image-size and in pixel. Afterwards the folder should look like that: - labels/
-
download/
- labels/
- ...
- train_labels.csv
- images/
- norm_images/
- fee73b1e0ea41b91.jpg
- ...
- raw_images/
- ...
- norm_images/
with this csv structure:
name x_p y_p fee73b1e0ea41b91.jpg 496.64 234.24 ... ... ... - labels/
- Train model
There are two options to train the model
-
In a jupyter notebook
this has the advantage that data can easly by visualized and each step can be seen on its own.
It can be found at train/train_model.ipynb -
python script
The advantage of a simple python script that it only has to be executed once after setting the parameters accordingly. It can be found at train/train_model.py. So execute the following script from the /focusfinder/train/ directory:
python3 train_model.pyboth options save a model in /train/models/*.pkl.
- Use trained model
For now the only way how to use a trained model can be seen in /focusfinder/webserver/test_fastai.py.
Later there will also be a webserver, which is not working yet.
Execute the following command to build the docker container
docker build -t focusfinder .
After that's done, start the docker container while making sure to add your gpus and sufficient shared memory
docker run --gpus all --shm-size=1024m -it --rm -v $PWD:/tmp -w /tmp -p 8081:8081 focusfinder bash
To train the model run
python train/train_model.py