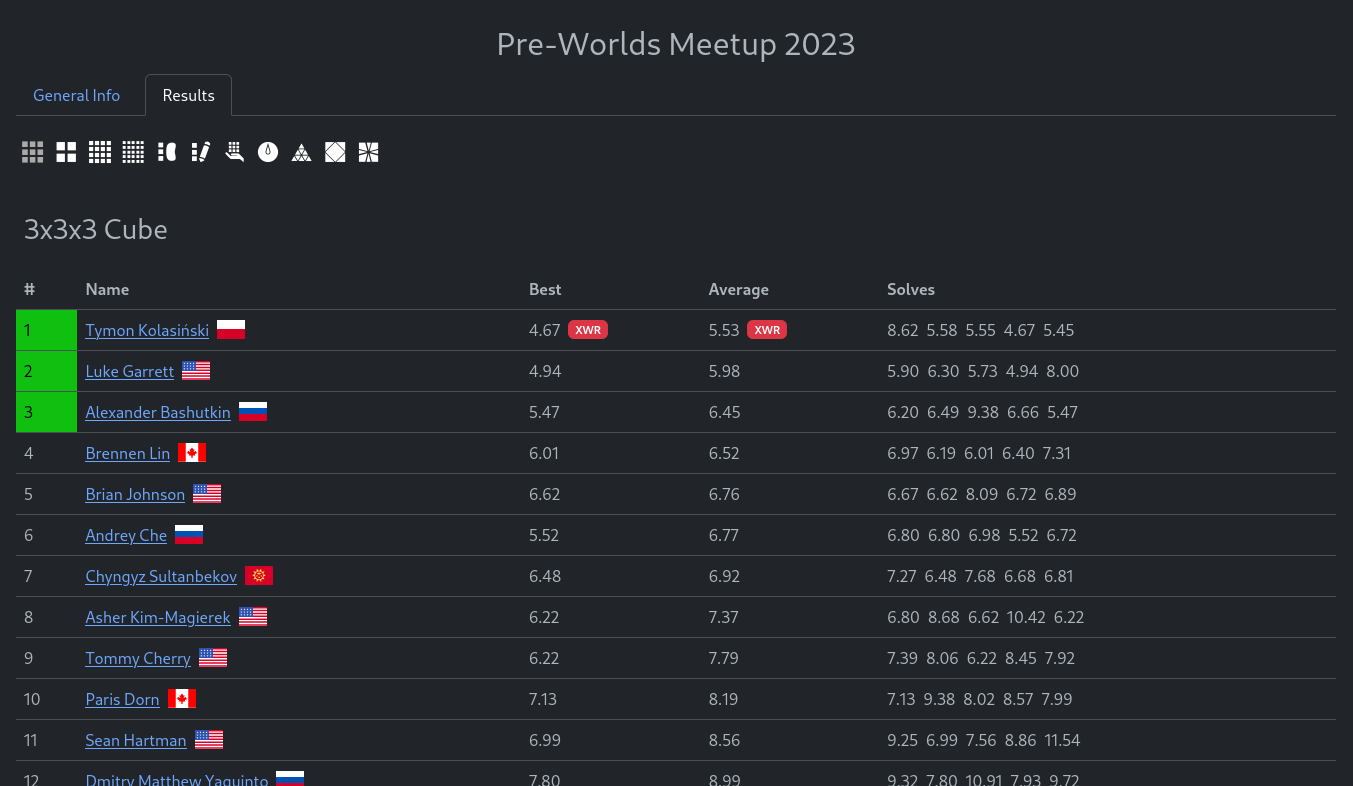
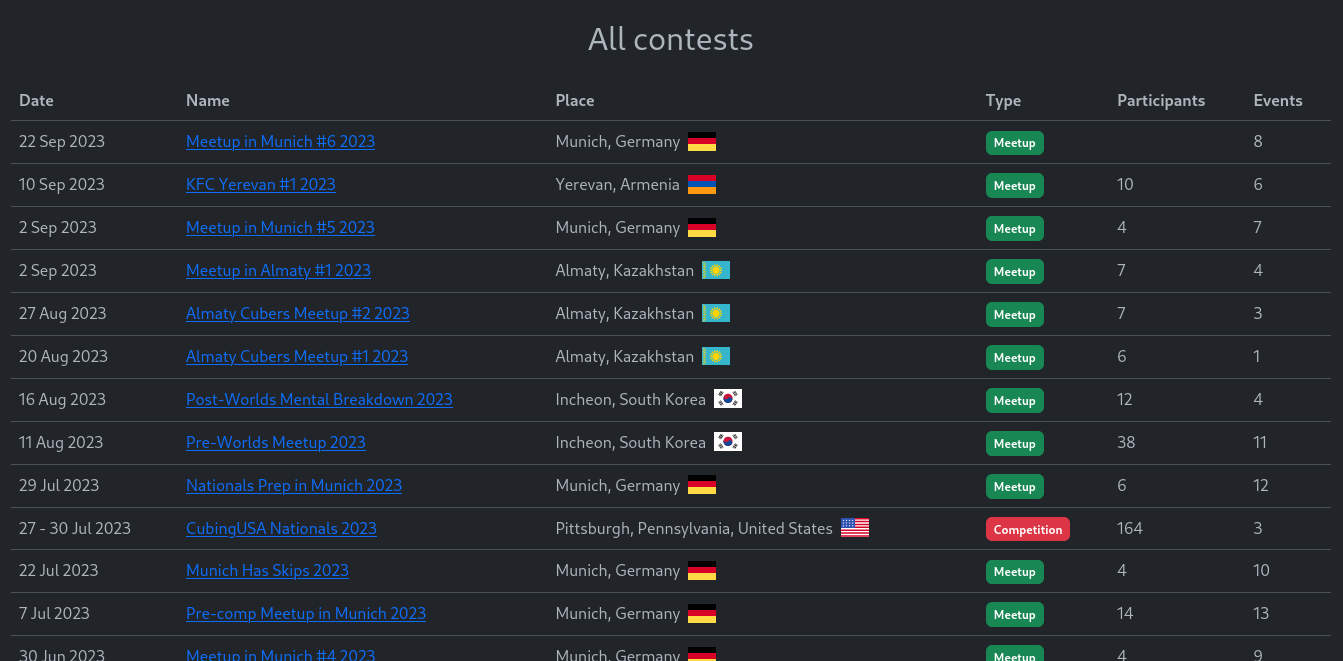
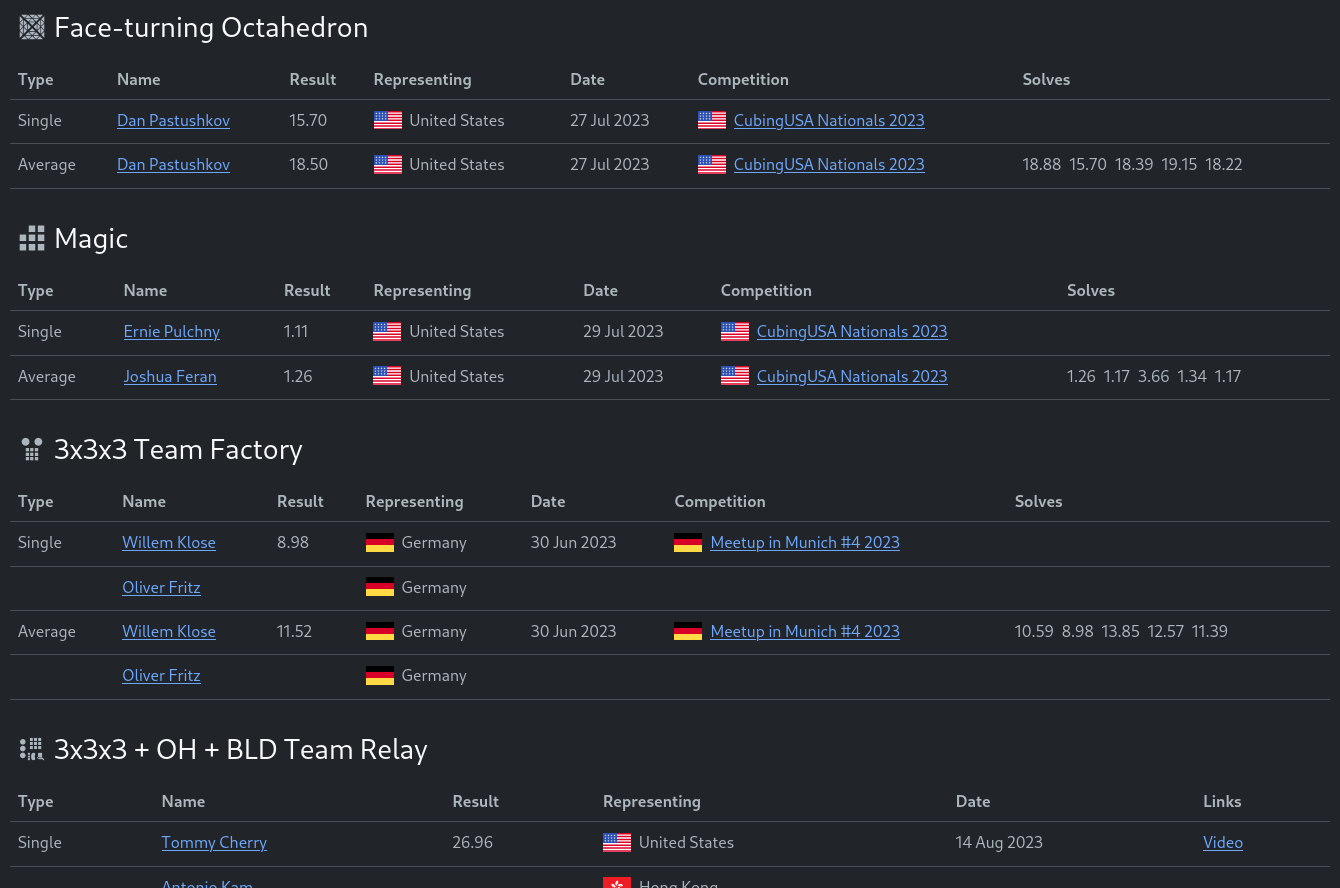
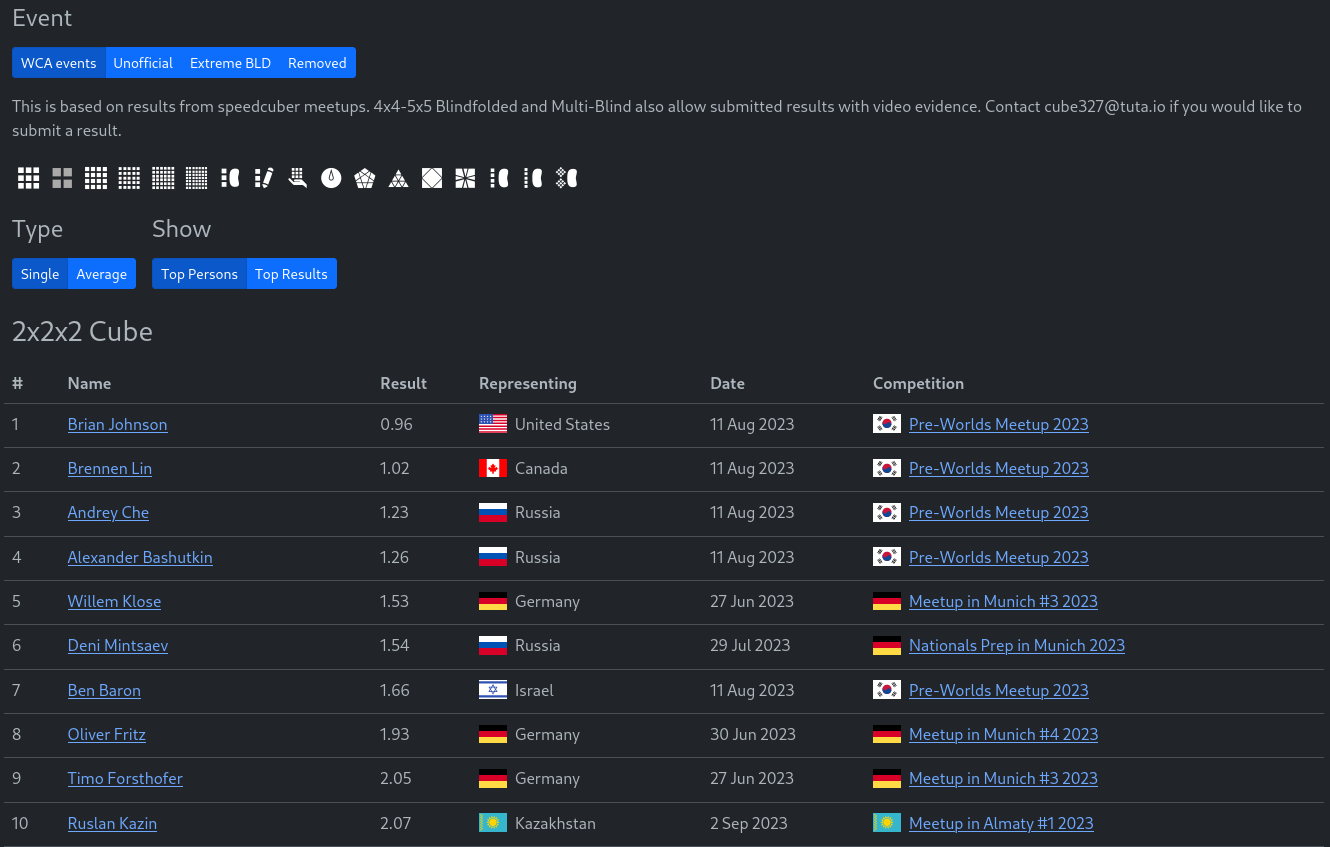
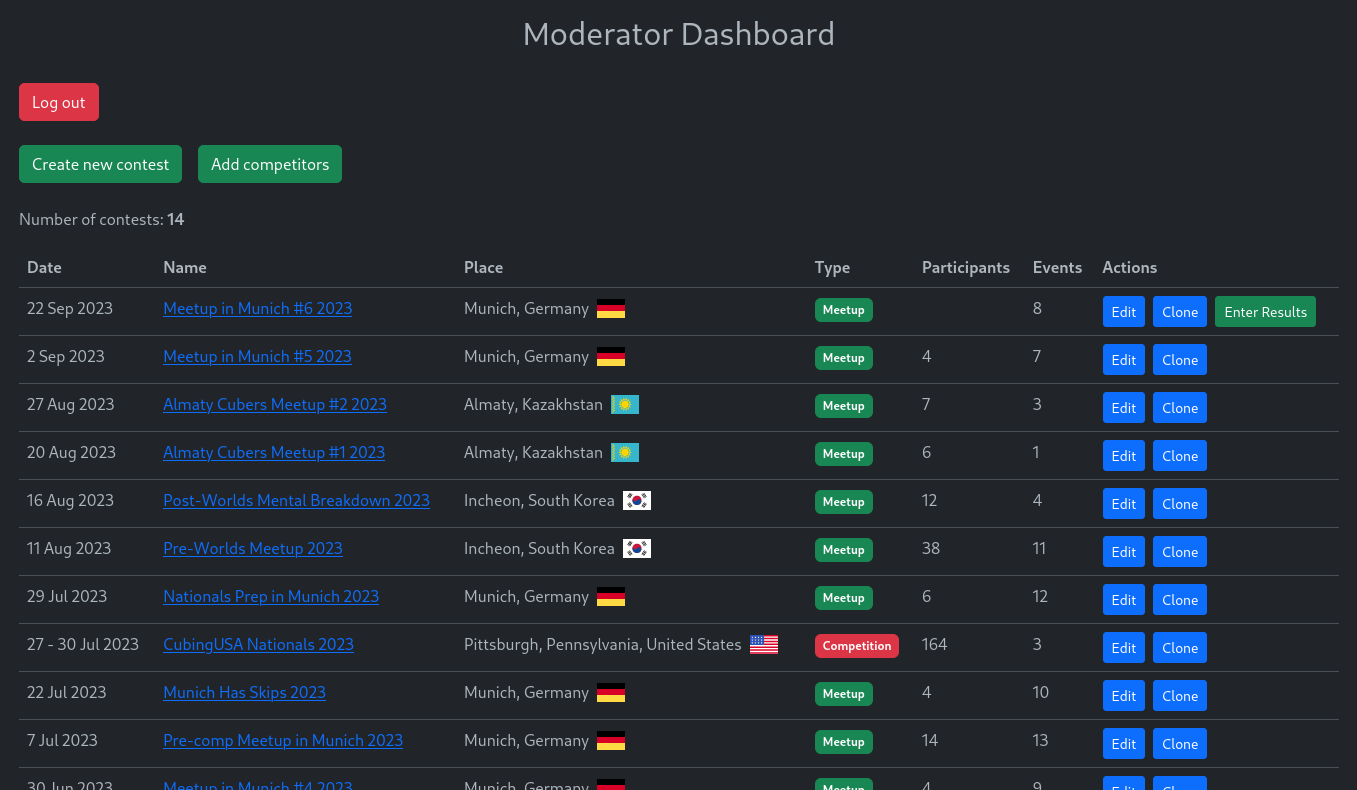
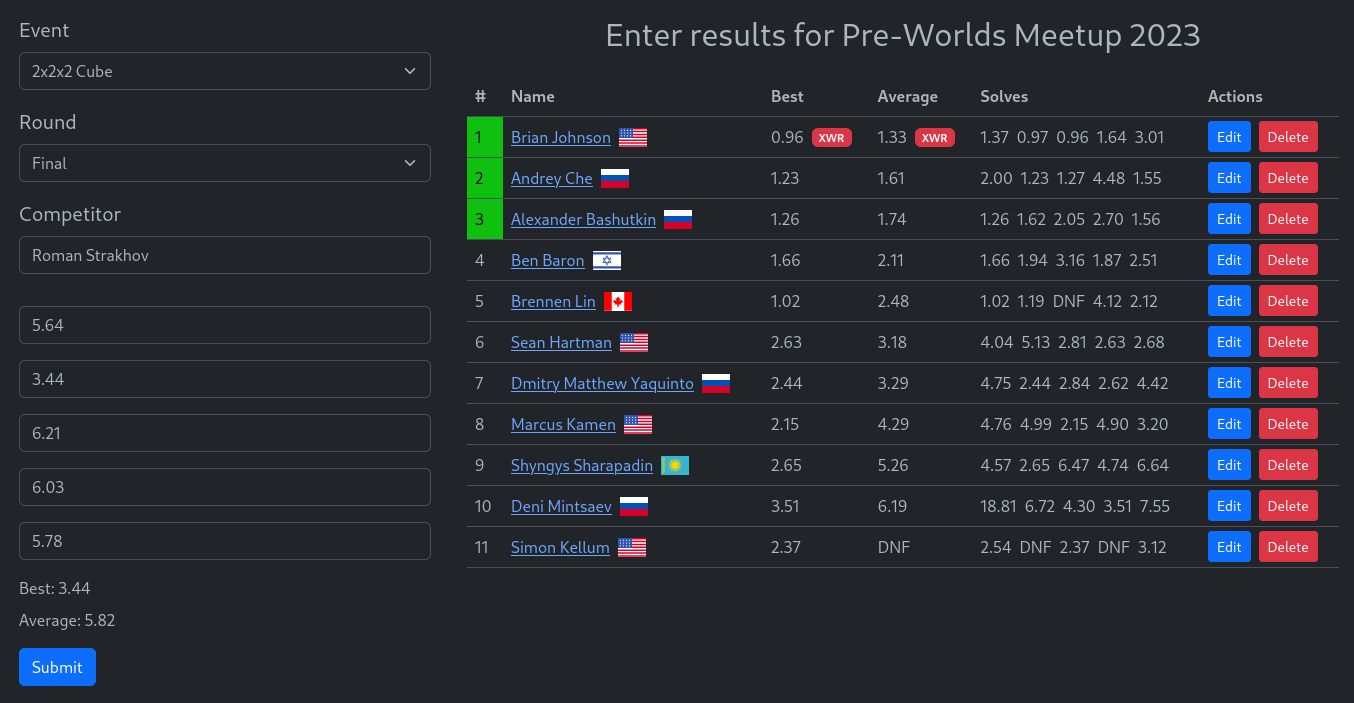
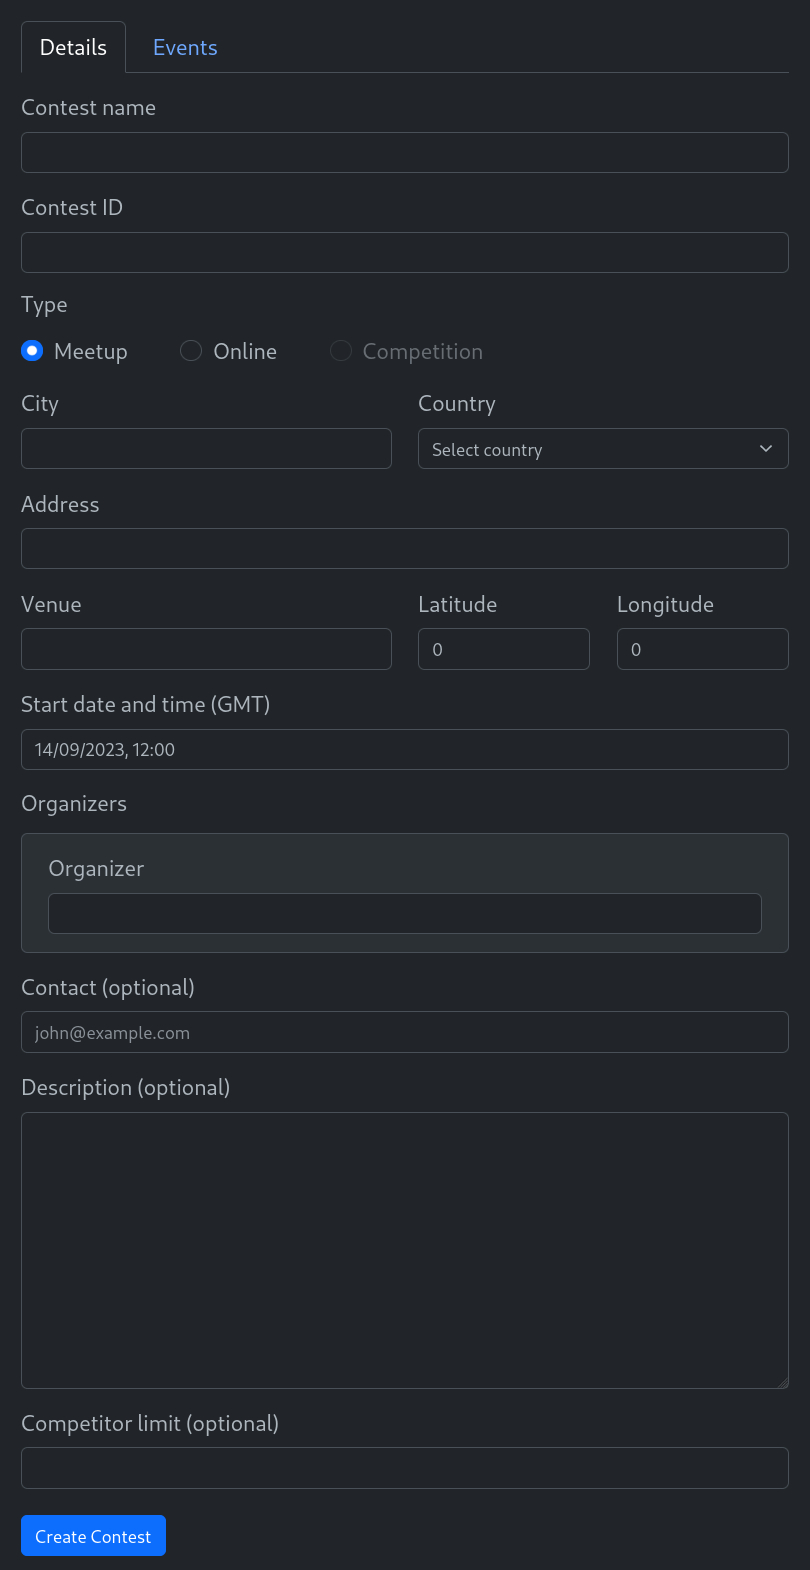
This is a place for hosting unofficial Rubik's cube competitions, unofficial events held at WCA competitions, speedcuber meetups, and other unofficial events.

Please do NOT try to deploy your own instance until this project is ready for that (you will find instructions in this section).
This project uses Next JS for the frontend and Nest JS (confusing, I know) with Mongo DB for the backend. To set up the development environment, install Node, NPM, the Nest JS CLI, and Docker, clone this repository, and then run the following commands:
./scripts/init.sh # set up Git hooks and copy .env.example to .env

cd client
npm install # install frontend packages

cd ../server
npm install # install backend packages
The pre-commit hook runs all tests, ESLint, and a test build of the frontend. If there are tests that don't pass, any linting errors, or an error during the build of the frontend, the commit will not be successful. You can avoid this behavior by adding the -n flag when committing.
To start just the backend and the DB in development, run this command in the server directory (runs the backend and the Mongo DB Docker container):
npm run fulldevTo start both the frontend and the backend, run the same command in the client directory. That version of the command starts the frontend, the backend, and the DB. Keep in mind that when Handlebars files (.hbs) are edited, the dev environment has to be restarted for those changes to take effect.
Go to localhost:3000 to see the website. Go to localhost:8080 to see Mongo Express (makes it much easier to work with the database). localhost:5000 is used by the backend.
There is an important shared_helpers directory in the client directory that is used in both client and server. They both have a @sh path alias to it in their respective tsconfig.json files. The reason it's in the client directory is that Next JS does not support importing files from outside of its root directory, but Nest JS does. You can also find other path aliases in client/tsconfig.json and server/tsconfig.json.
Environment variables are specified in .env in the root directory and are automatically sourced by Docker. Simply copy the .env.example file, rename it to .env (which is not tracked by git in this repo), and change the values of the variables. This works the same way in production and in development.
In development the server/.env.dev file is used for environment variables; it is automatically read by Nest JS. The npm run fulldev commands copy .env to server/.env.dev automatically. In production this file is ignored, and the container's environment variables (coming from the .env file) are used instead.
Frontend environment variables are specified in the client/.env.local file. This file is automatically read by Next JS. See that file for more details. The values are taken from the frontend container's environment variables. These must be set during the container's build process when deploying, because that is when Next JS sets the variables in .env.local.
To start all containers locally, including the frontend, the backend and the database, run this command:
./script/start-prod.sh --devThe structure of the different kinds of data (e.g. competitions, rounds, events, etc.) that is stored in the database is determined by the following:
- Interface - describes the structure of the data in the DB. Example:
IContest. - DTO interface - optional; describes the structure of request data. Example:
IPersonDto. - Frontend interface - optional; describes the structure of the data returned to the frontend. Example:
IFeEvent. - Schema class - implements the interface and is used to store the data in the DB. Also has a document type in the same file that is used as the return type for documents of that model. If you use VS Code, you can use the
monmodsnippet to create a new schema and the related classes. Use this in your new.model.tsfiles inside ofserver/src/models. - Create DTO class - implements the same interface or a dedicated DTO interface, and is used for validating POST requests that create new documents in the DB.
- Update DTO class - extends the create DTO class with a partial extend, and is used for validating PATCH requests.
The structure of many objects like competitions and rounds is mostly similar to the WCIF specification.