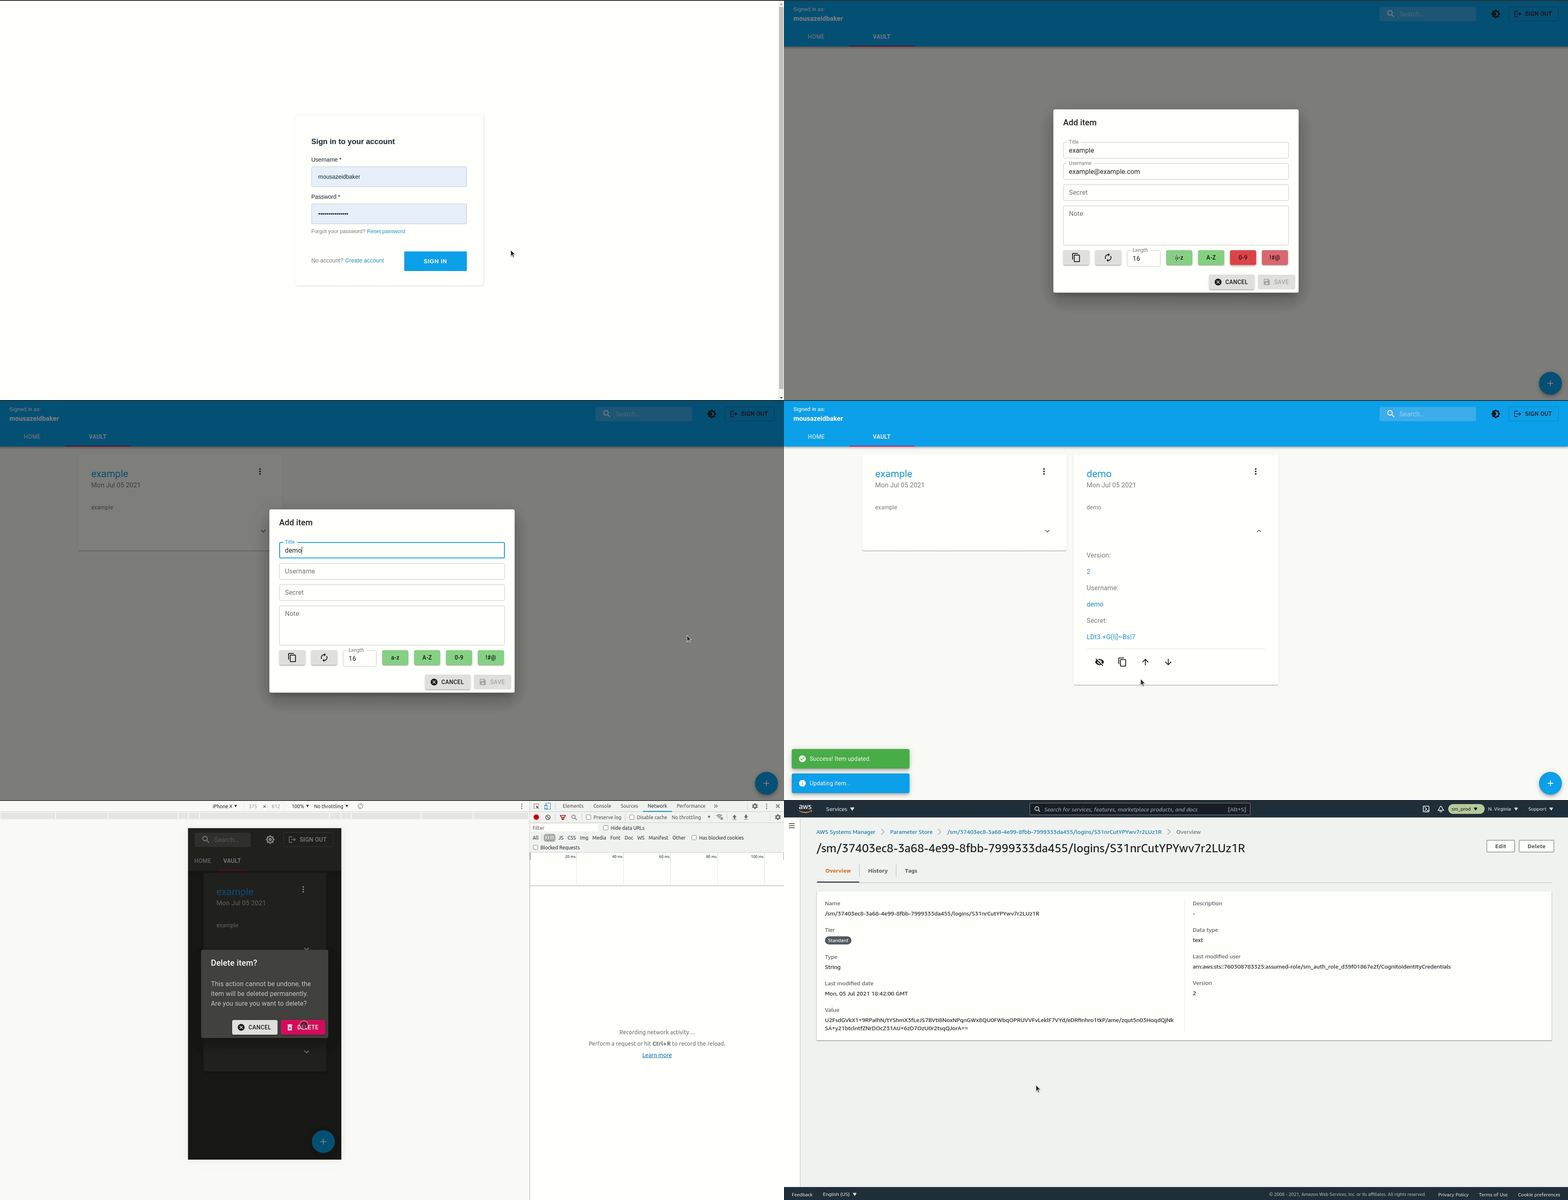
SM is an open-source self-hosted secrets manager with zero cost. The idea with SM is that it must be completely free of any cost, thus all resources as well as hosting is picked with that in mind.
-
AWS account to host the infrastructure
-
Vercel account to host the webb app
The infrastructure.sh script deploys the necessary AWS resources. The
following resources will be deployed:
Cognito User PoolCognito Identity PoolIAM roleIAM policy
A database is not needed as secrets will be stored encrypted in AWS Systems Manager Parameter Store. Secrets are AES encrypted by the api before being
stored in Parameter Store so that only the api that holds the encryption
passphrase is able to decrypt them. All resources are within the AWS free
tier.
In order to avoid latency, it's recommended to deploy the resources to
us-east-1 since it's the default deployment
region for
Vercel and cannot be changed for hobby accounts. To deploy the resources, create
an IAM user with programmatic access and with administrator access, then run
the following command. Delete the user once the resources has been deployed.
Take note of the output as it will be used as environment variables in the webb
app.
AWS_DEFAULT_REGION=us-east-1 \
AWS_ACCESS_KEY_ID=my-access-key \
AWS_SECRET_ACCESS_KEY=my-secret-access-key \
./infrastructure/infrastructure.sh
The resources should now be created. By default users can not sign themselves up from your app, but you can create users from the AWS Management Console. This behavior can of course be changed to match your preferences, learn more about creating users and how to change this setting here.
The last step in this section is to unlock the authentication provider, Cognito User Pool, in the Cognito Identity Pool console. See the following procedure
to do so
- Head over to the
Cognito Identity Poolconsole and select the identity pool. - In the top-right corner of the Dashboard page, choose Edit identity pool. The Edit identity pool page appears.
- Scroll down and choose Authentication providers to expand it.
- Choose the Cognito tab.
- Choose Unlock.
- Choose Save Changes.
Run the web app locally to try it out and to make sure everything is set up correctly.
Copy env.local.example to .env.local and configure environment variables in that file
cp env.local.example .env.localInstall dependencies
yarn installRun the web app locally
yarn run devWeb app is available at localhost:3000
Swagger UI is available at localhost:3000/docs
Install dependencies
yarn installLogin to your Vercel account
yarn run vercel loginLink your local directory to a Vercel Project. You can link to an existing project, or preferably create a new one.
yarn run vercel linka project should now be seen in the Vercel dashboard. Before deploying,
configure environment variables
directly from the Project
Settings. The necessary environment variables are found in .env.local.example
file.
Deploy
yarn run vercel deploy --prodSimple bash scripts can be used to migrate secrets from other secrets managers to SM. Usually, secrets can be exported in CSV format, the following shows an example from LastPass
url,username,password,totp,extra,name,grouping,fav
http://example.com,example@example.com,my-secret,,,my-name,password,0
http://demo.com,demo@example.com,my-secret2,,,my-name2,password,0
and the following bash script loops through the CSV entries and creates items in SM
#! /bin/bash

TOKEN=$MY_SM_TOKEN # set token as environment variable

while IFS="," read -r url username password totp extra name grouping fav
do
  curl "https://sm.vercel.app/api/v1/logins" \
  -H "content-type: application/json" \
  -H "authorization: $TOKEN" \
  --data-raw "{\"data\":{\"type\":\"logins\",\"attributes\":{\"title\":\"$name\",\"path\":\"/\",\"username\":\"$username\",\"secret\":\"$password\",\"note\":\"$name\"}}}"

done < <(tail -n +2 input.csv)
