School Management and Accounting Software


We like to challenge the quality of what we build to make it better. To do so, we try to make the product intuitive, beautiful, and user friendly. Innovation and hard work help to fulfill these requirements. I believe in order to innovate we need to think differently. A few months ago I discovered there was no open source free school management software that met my quality standards. I happen to know a bit of programming so I decided to make one. I also believe that working with more people can push the standard higher than working alone. So I decided to make it open source and free.
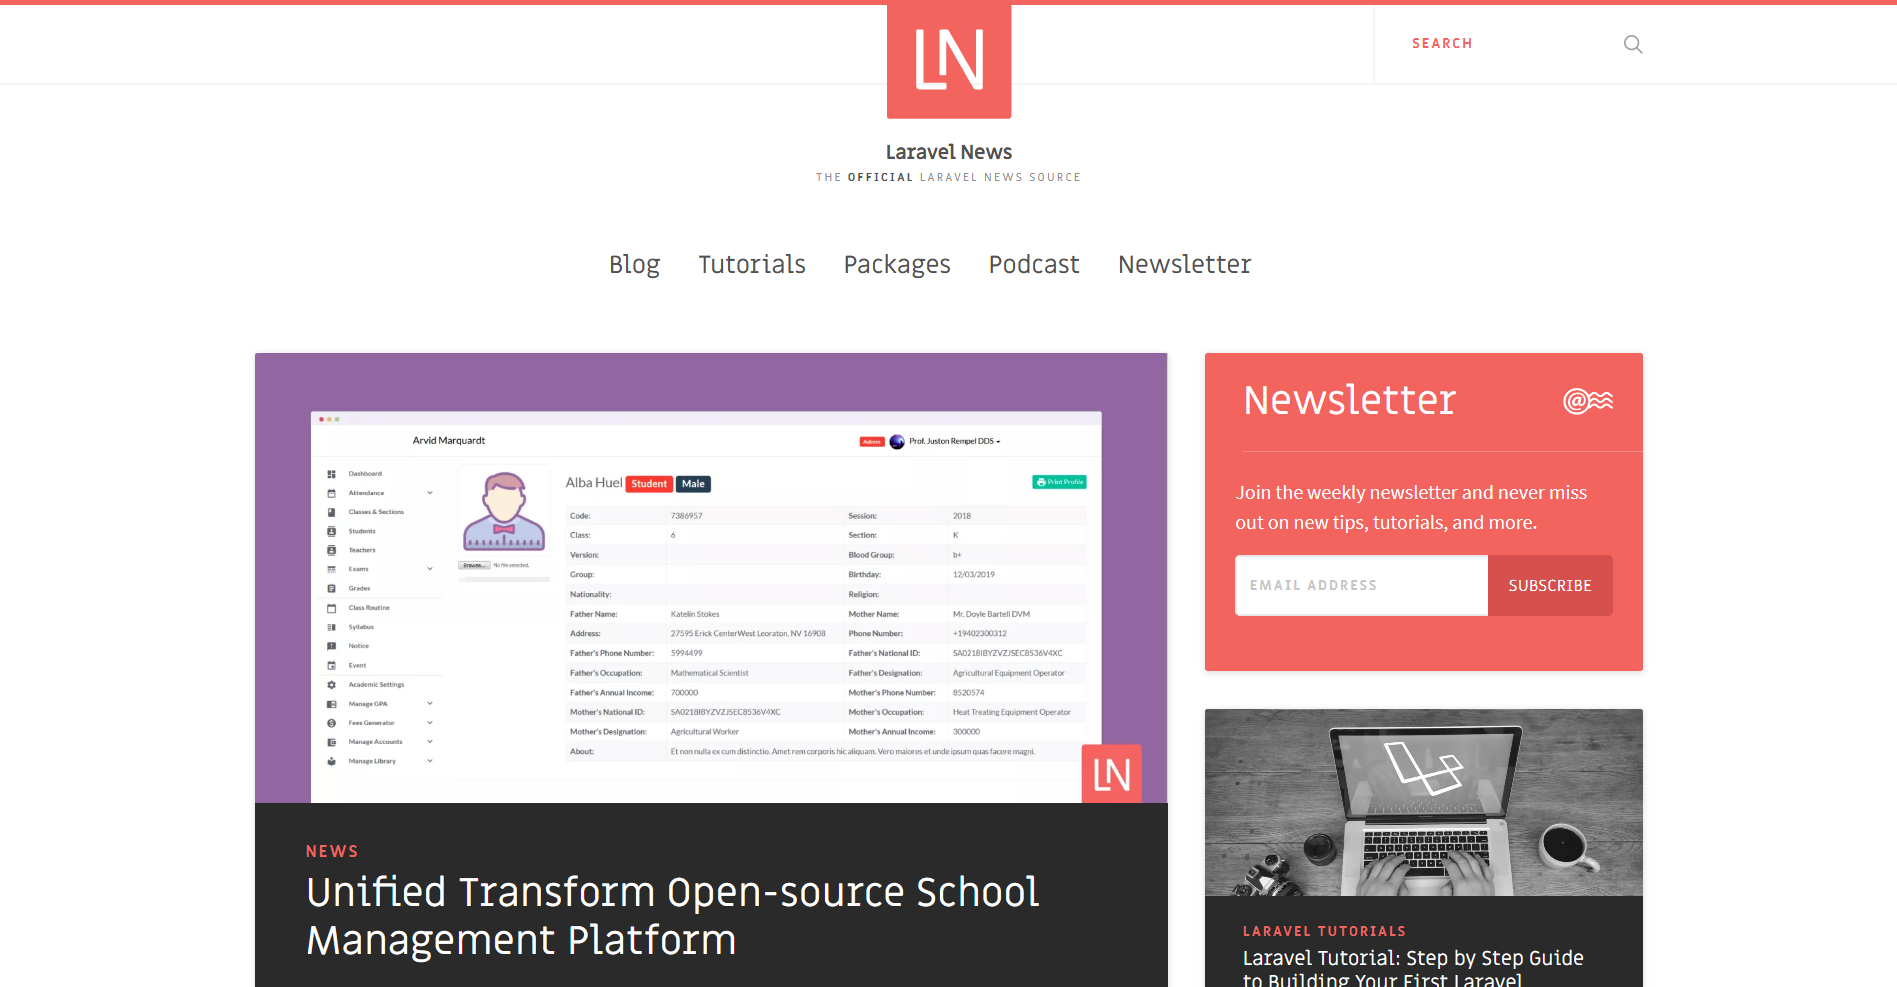 See the news here
- Laravel 7.X
- Bootstrap 3.3.7
- PHP >= 7.3
- OpenSSL PHP Extension
- PDO PHP Extension
- Mbstring PHP Extension
- Tokenizer PHP Extension
- XML PHP Extension
- Features
- What's New
- Framework used
- Server Requirements
- How to Start (Installation)
- Optional
- Testing
- Stripe setup
- Create a school and an admin
- Manage a school
- Basic Steps by Serial
- Manage Exam (In exam manage page) by Admin
- Manage GPA and Grade
- Good to know
- Screenshots
Unifiedtransform is 100% open source and free forever!!
Community contribution can make this product better!! See Contribution guideline before making any Pull request.
When you contribute to a Github project you agree with this terms of Github Terms of Service(Contributions Under Repository License).
Since this project is under GNU General Public License v3.0, according to Github's Terms of Service all your contributions are also under the same license terms. Thus you permit the user of this software to use your contribution under the terms of GNU General Public License v3.0.


- We want testable softwares. Most parts of the software are covered by tests. You also can contribute by writing test case!
- To run Feature and Unit Tests use
./vendor/bin/phpunit. - To run Browser Tests copy
.env.dusk.exampleto.env.dusk.localand setAPP_KEYwith same token to environment variable in your.envfile and runphp artisan serve --env=dusk.localfor execute the server then runphp artisan dusk.
GNU General Public License v3.0
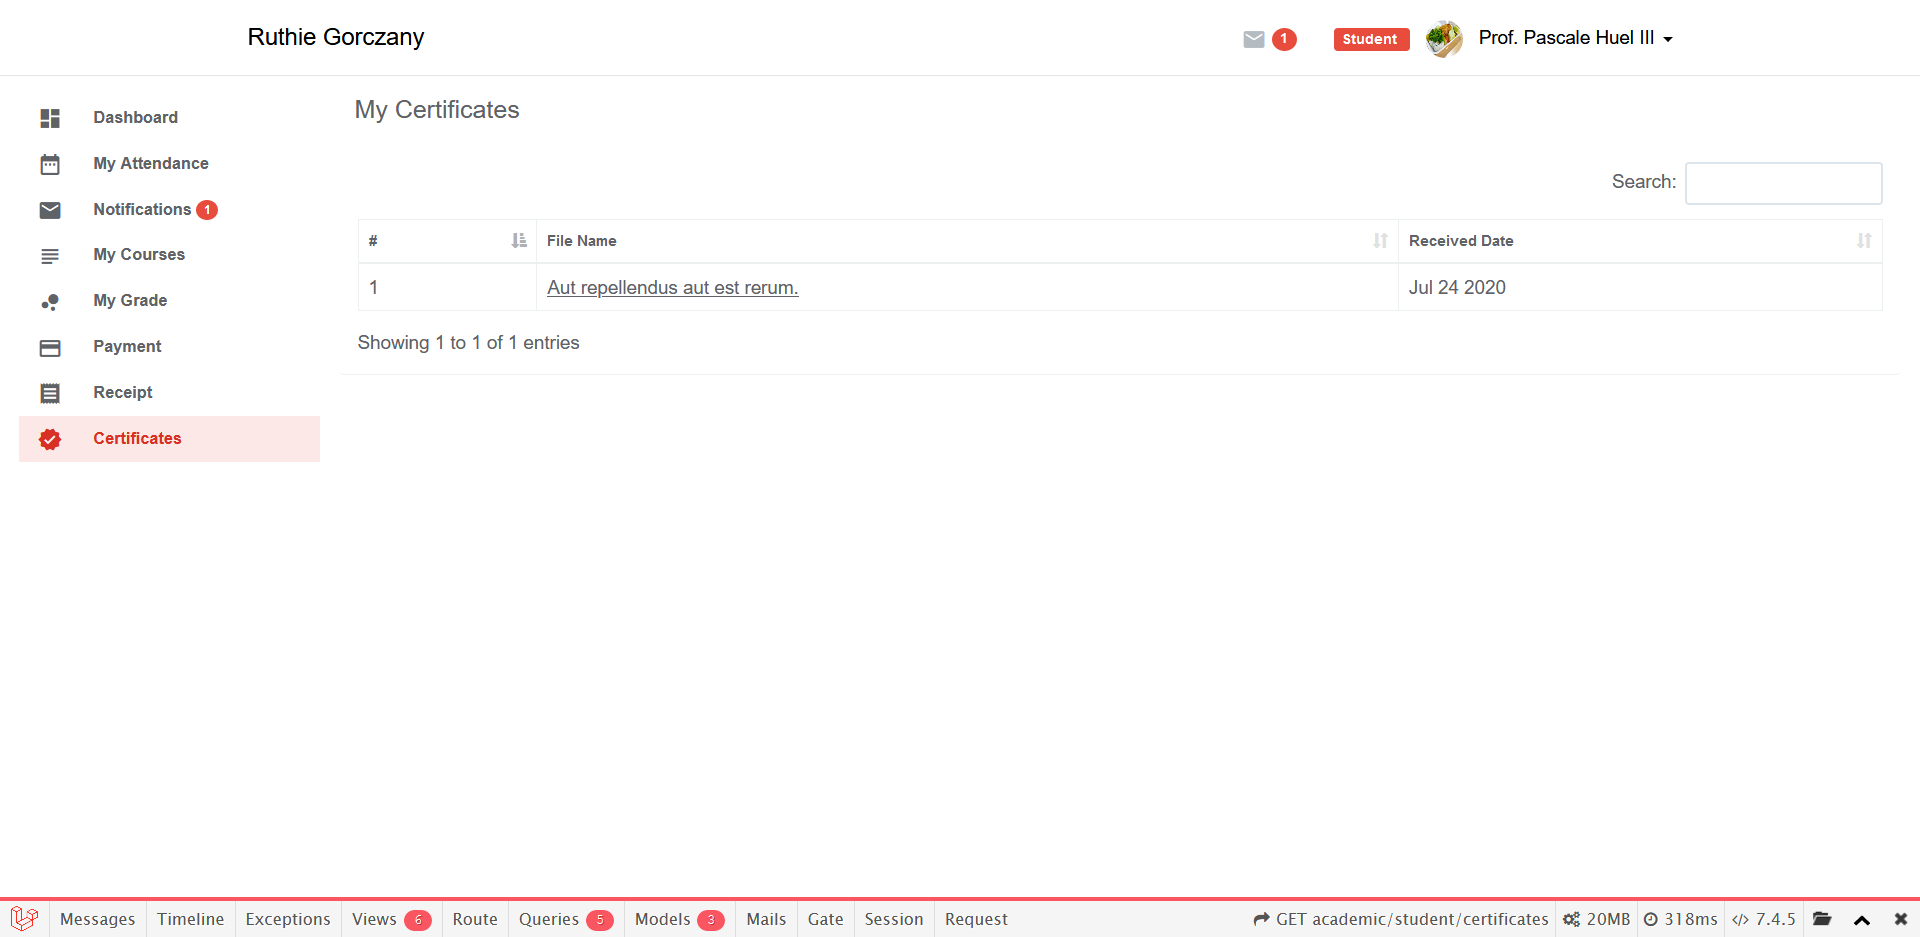
- Certificate Upload Feature is added.
- Admin can upload certificate to a student using student code.
- Students can see their certificates link from Left Navigation bar.
- Now students can also go to their Notifications(Teacher's Message) from Left Navigation bar.
This software has following features:
| Feature | Description |
|---|---|
| Roles | Master, Admin, Teacher, Student, Librarian, Accountant. |
| (You can Impersonate User Roles in Development environment) See how Impersonation works. Cool !! | |
| Certificate | Now you can upload certificate to a student using student code. |
| Payment | Stripe is used. See configuration below. |
| Students can pay from their accounts. | |
| Student can view payment receipts (history) | |
| View Screenshot below | |
| Attendance | Take student attendance for each course |
| Mark | Can give marks to students for each course |
| Registration | Register students |
| Notice, Syllabus | Manage uploaded Notices, Syllabus, Routines |
| Library | Manage a library of books. |
| Add new books. | |
| Keep track of books. | |
| Exam | Manage Semester by Examination |
| Grade | Give Grades based on marks of each course. |
| Accounts | Manage Income, Expense Amounts |
| View Graphs based on year. | |
| Messaging | Uses CKEditor 5 |
| Export/Import | Users (Students, Teachers) from/to Excel |
| Laravel Excel package is used. | |
| Important: Single sheet supported in an Excel file. So delete any extra sheet in an Excel file. | |
Following excel column names supported for both Teachers and Students: name, email, password, address, about, phone_number, blood_group, nationality, gender. |
|
| Other columns: | |
For Teachers: department, (class, section) if assigned as class teacher. |
|
For Students: class, section, session, version, group, birthday, religion, father_name, father_phone_number, father_national_id, father_occupation, father_designation, father_annual_income, mother_name, mother_phone_number, mother_national_id, mother_occupation, mother_designation, mother_annual_income |
|
| For any number(e.g: phone_number) starts with zero, put (') before zero. | |
| Supported Languages | English, Spanish |
To set default Language and Timezone, Edit as following in config/app.php: |
'timezone' => 'Asia/Dhaka',//'UTC',
'locale' => 'en',//'es-MX' for Spanish
Docker is now supported and improved.
With the improved Docker setup, you will get:
- Nginx
- PHP 7.4
- MySQL 8
- PHPMyAdmin
- Composer commands: access composer commands directly without entering the container
- Artisan commands: access artisan commands directly without entering the container
In a nutshell, you only need to install Docker as well as docker-compose on your (host) machine and let Docker does the rest
- Run
cp .env.example .env - If you think the default setting are pretty well setup, you can run
./docker-install.shright away from your terminal. - Otherwise, read a section below for further information about properties you may change.
- Run
./docker-install.sh
Here are .env properties you can change:
- Common Laravel
.envproperties DOCKER_WEBSERVER_HOSTdefines the Unifiedtransform port address. default value:4049DOCKER_PHPMYADMIN_HOSTdefines the PHPMyAdmin port address. default value:5051
You can also customize:
DB_DATABASE: the database nameDB_USERNAME: the database username. Fill it other thanroototherwise you will get trouble aheadDB_PASSWORD: the database password
And it will be reflected on the database credentials after Docker is finished installing.
Under this project, there is an executable called dev.
It contains utility scripts which really comes in handy when you are working with the Docker app, especially docker-compose scripts cause it shortens some of docker-compose scripts.
Available commands:
dev composer <commands>stands fordocker-compose run --rm composer <commands>dev artisan <commands>stands fordocker-compose run --rm artisan <commands>dev rebuild <service>to rebuild some services defined in thedocker-compose.yml
Really saving your time, isn't it?
Here is a latest article about Manual installation in Windows 10.
Here are some basic steps to start using this application
Note: Instruction on cached data for Dashboard is given in Good to know segment below.
- Clone the repository
git clone https://github.com/changeweb/Unifiedtransform-
Copy the contents of the
.env.examplefile to create.envin the same directory -
Run
composer installfordeveloperenvironment and runcomposer install --optimize-autoloader --no-devforproductionenvironment to install Laravel packages (Remove Laravel Debugbar, Laravel Log viewer packages from composer.json and
   //Provider
   Barryvdh\Debugbar\ServiceProvider,
   Logviewer Service provider,
   //Alias
   'Debugbar' => Barryvdh...
from config/app.php before running composer install in Production Environment)
-
Generate
APP_KEYusingphp artisan key:generate -
Edit the database connection configuration in .env file e.g.
DB_CONNECTION=mysql
DB_HOST=127.0.0.1
DB_PORT=3306
DB_DATABASE=unifiedtransform
DB_USERNAME=unified
DB_PASSWORD=secret
Note that this is just an example, and the values may vary depending on your database environment.
-
Set the
APP_ENVvariable in your.envfile according to your application environment (e.g. local, production) in.envfile -
Migrate your Database with
php artisan migrate -
Seed your Database with
php artisan db:seed -
On localhost, serve your application with
php artisan serve
See Video Tutorial.

-
Laravel Page Speed Package is installed but not activated. If you want to use it to optimize your site automatically which results in a 35%+ optimization. You need to uncomment some lines from
Kernel.phpfile and may need to runphp artisan vendor:publish --provider="RenatoMarinho\LaravelPageSpeed\ServiceProvider".app/HTTP/Kernel.php
    //\RenatoMarinho\LaravelPageSpeed\Middleware\InlineCss::class,
    //\RenatoMarinho\LaravelPageSpeed\Middleware\ElideAttributes::class,
    //\RenatoMarinho\LaravelPageSpeed\Middleware\InsertDNSPrefetch::class,
    //\RenatoMarinho\LaravelPageSpeed\Middleware\RemoveComments::class,
    //\RenatoMarinho\LaravelPageSpeed\Middleware\TrimUrls::class,
    //\RenatoMarinho\LaravelPageSpeed\Middleware\RemoveQuotes::class,
    //\RenatoMarinho\LaravelPageSpeed\Middleware\CollapseWhitespace::class,
-
To create a
Master, go to thedatabase\seeds\UsersTableSeeder.phpand change thename, theemailand thepasswordsettings to your likings. Leave the other settings (role, active, verified) unchanged! -
Laravel Passport package is included to support API. Key for Passport should be automatically generated by
php artisan passport:keysfrompost-install-cmdscript incomposer.jsonor you have to run this manually and to remove this package just follow these steps- Remove it from
composer.jsonrequire dependencies and remove command@php artisan passport:keysfrompost-install-cmdscript - Run
composer updateandcomposer dump-autoload. - And all classes that relies on passport must be edited as well. The most common classes are:
app\User.phpmodel, remove theHasApiTokentrait.app\Proiders\AuthServiceProvider, removePassport::routes();in your boot method.- In
config/auth.php, change your driver option forapifrompassporttoapiauthentication.
- Remove it from
-
To create the tables, run
php artisan migrate.- If you don't want to use Passport package then remove the Passport Migrations in database
migrationstable and run commandartisan migrate:refresh
- If you don't want to use Passport package then remove the Passport Migrations in database
-
To seed the tables with fake data, use
php artisan db:seed. -
If you want to run the migration and the seeding together, use
php artisan migrate:refresh --seed -
You must seed
database\seeds\UsersTableSeeder.phpat least once in order to create the Master account (For Production: Run the seed in Development environment and then switch to production). To do so, follow these steps:- comment all the seeders except
$this->call(UsersTableSeeder::class);indatabase\seeds\DatabaseSeeder.php; - then comment
factory(App\User::class, 200)->create();inUsersTableSeeder.php.
So your files will look something like this:
In
database\seeds\DatabaseSeeder.php:... //$this->call(SectionsTableSeeder::class); $this->call(UsersTableSeeder::class); //$this->call(AttendancesTableSeeder::class); ...
In
database\seeds\UsersTableSeeder.php:... //factory(User::class, 10)->states('admin')->create(); //factory(User::class, 10)->states('accountant')->create(); //factory(User::class, 10)->states('librarian')->create(); //factory(User::class, 30)->states('teacher')->create(); //factory(User::class, 200)->states('student')->create();
- comment all the seeders except
- Make Unifiedtransform a native desktop application by using Nativefier
- Laravel 5 log viewer is used to view Logs using a UI at 'example.com/logs' while in development environment.
-
Add
STRIPE_KEYandSTRIPE_SECRETin.envfile. -
For Stripe Test uncomment following test
student_can_pay_amountintests\Feature\PaymentModuleTestafter editing.env.From
//public function student_can_pay_amount(){
   ...
//}
To
public function student_can_pay_amount(){
   ...
}
- Important: only a
mastercan create a new school and its admins! - Login at
example.com/loginusing yourMasteraccount credentials - Create a new
school - Create a new
adminfor the newly created school
- Important: A
masterCANNOT manage a school's data! - Login as
adminatexample.com/login - Now add data to the school as required.
- Create Classes
- Create Sections
- Create Exam
- Add Students
- Add Department
- Add Teachers
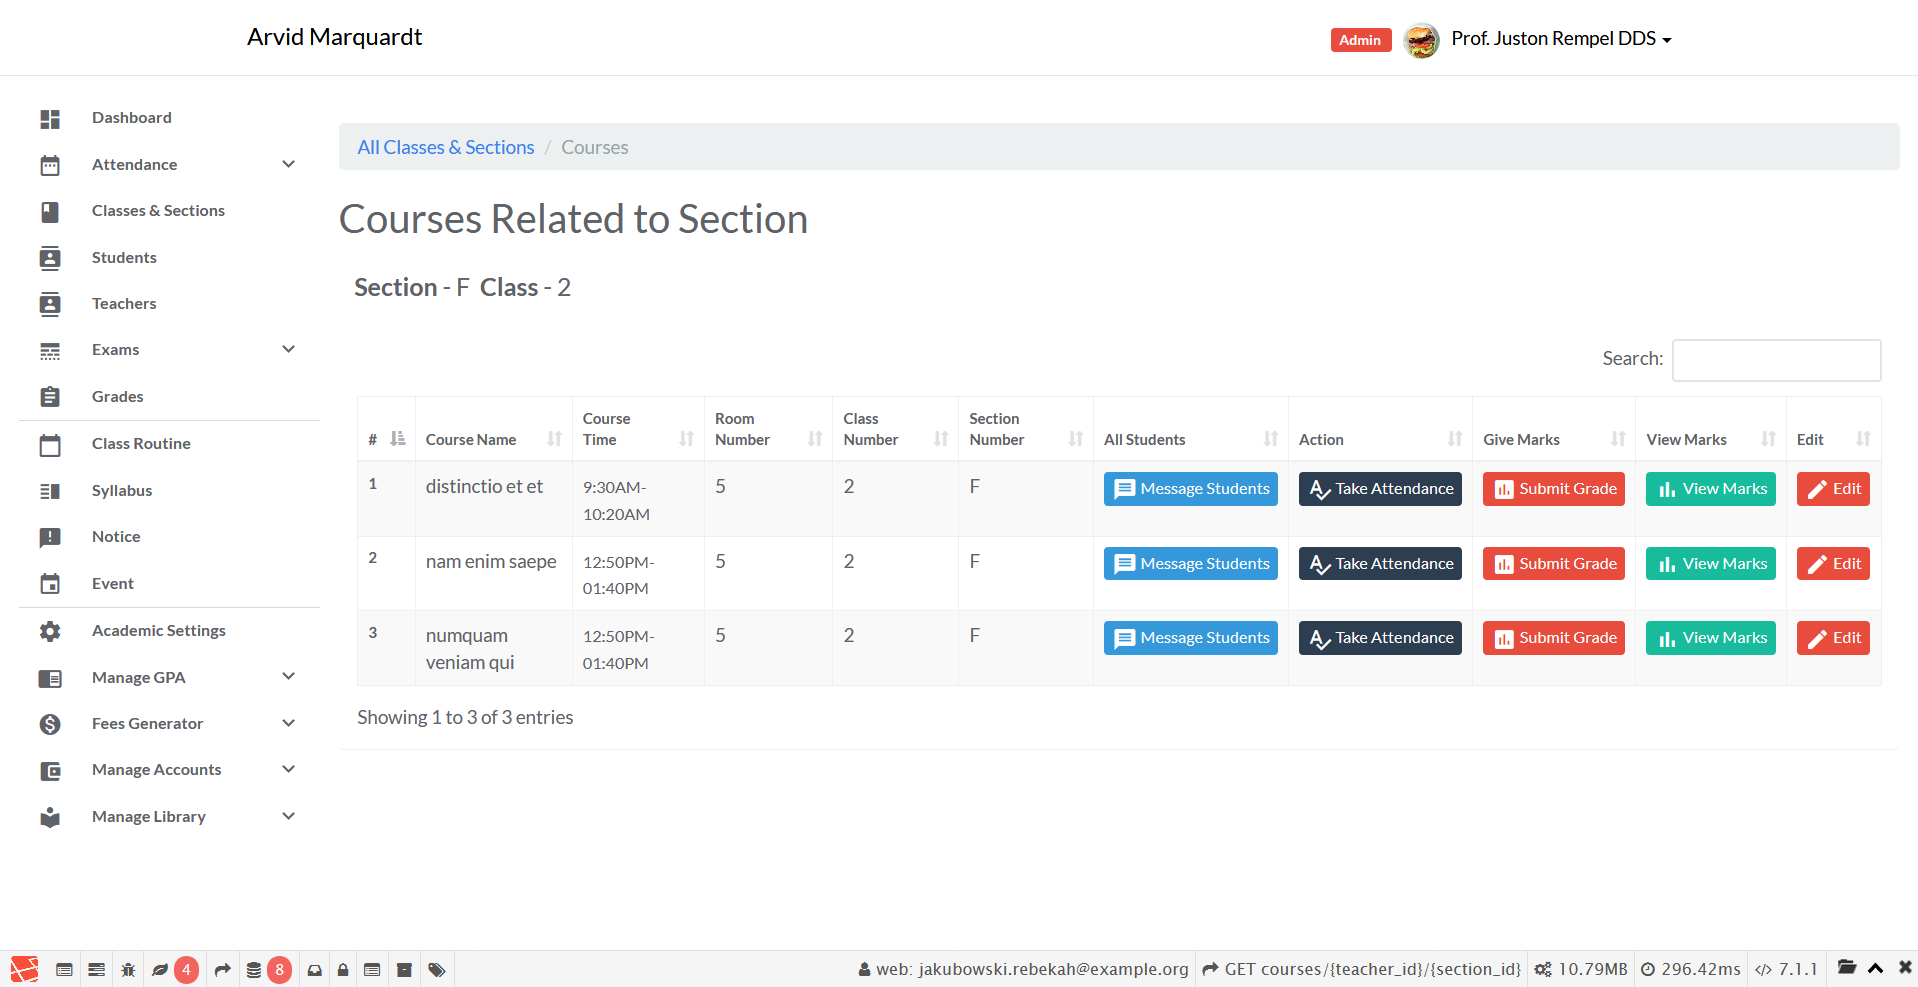
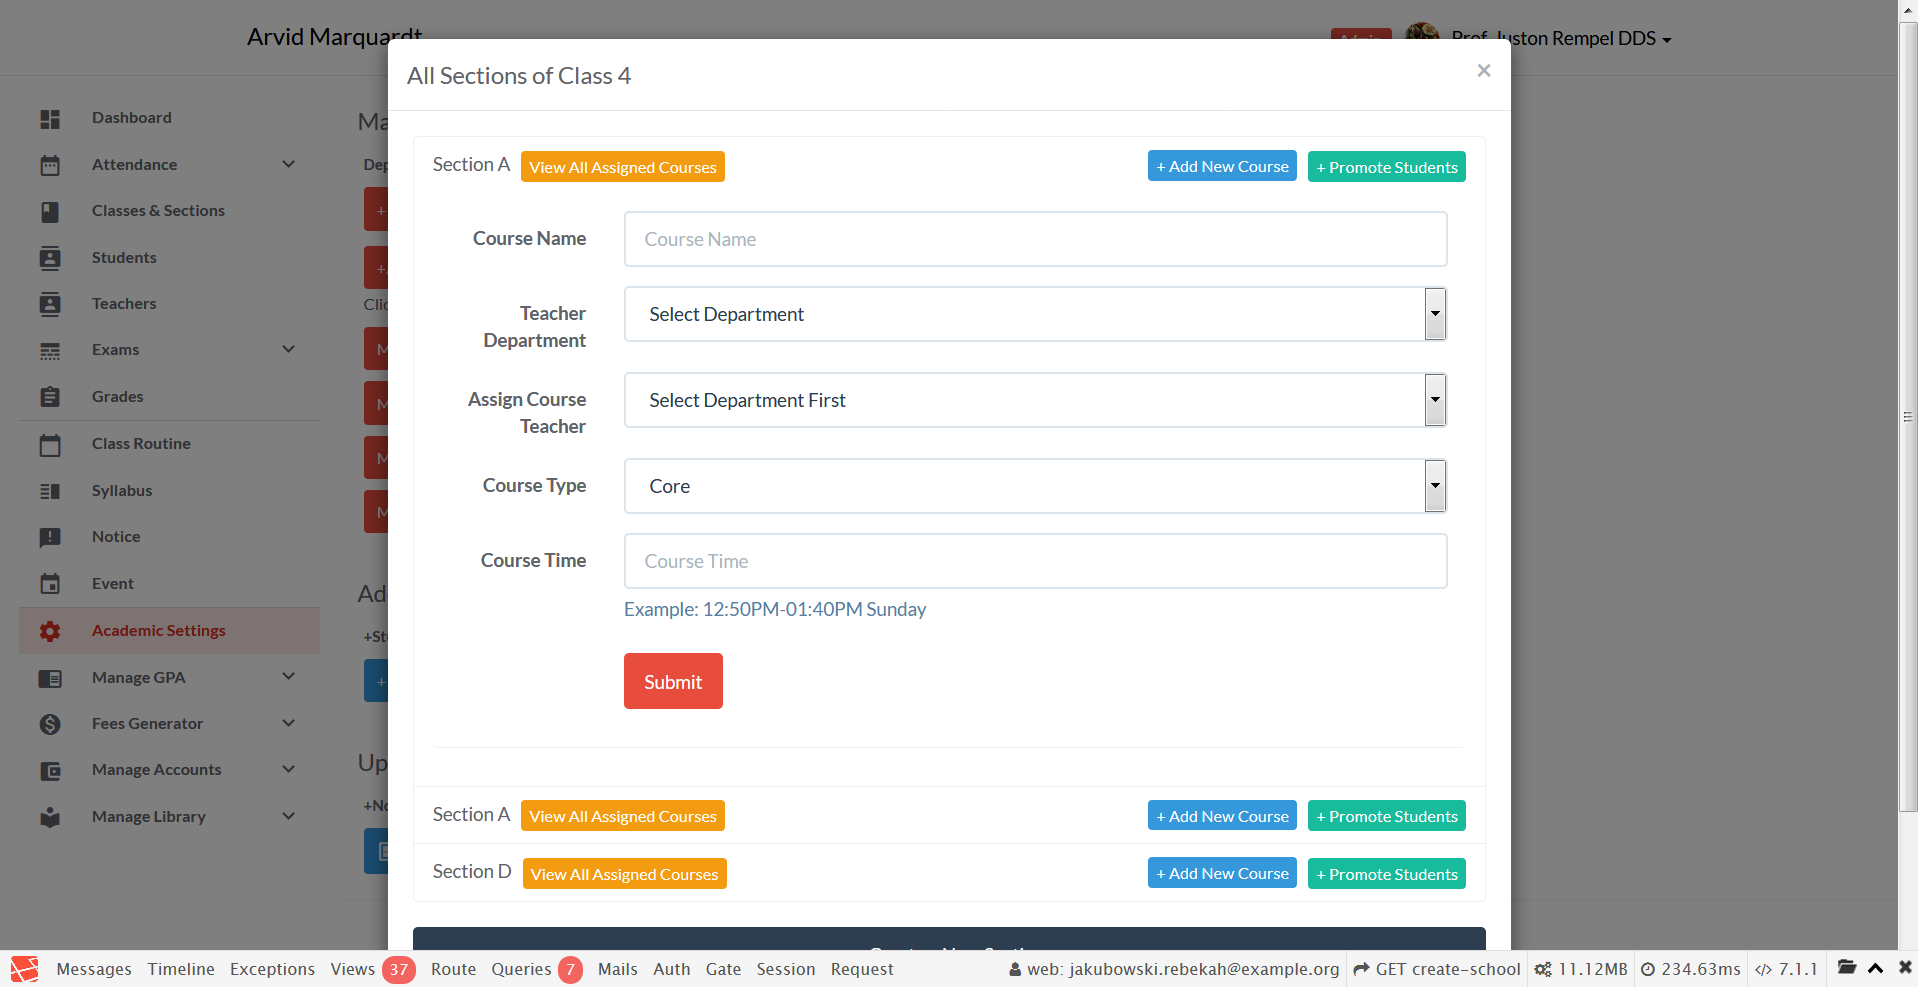
- Add Courses
- Then teacher can take attendance, give marks
-
Check Notice published checkbox for an Exam after uploading Exam Notice.
-
Check Result published checkbox for an Exam after all teachers updated their courses' marks.
- Checking result as published sets the Exam as completed.
-
Exam is set as Active by default while created. You can deactivate the exam by checking related checkbox.
-
Admin adds GPAs for respective mark ranges.
-
For giving marks, Teacher clicks on Submit Grade button and do the following:
- Select a GPA by name from dropdown
- Configure Class Test, Quiz, ...etc. count, percentage (Optional)
- Give marks
- To get Grade of students of a course for given marks, Teacher clicks the Get Total Marks button. (Usually this is done at the end of the semester)
Upon request in issue #258, Certification file upload system has been added.
- Setup your Mail configuration in
.envfile if you want to send email. Currently registered users are notified by invitation mail if Mail is configured properly. - This project uses Laravel Impersonate in development and staging environments, so you can view the application through another user's eyes, which is useful for testing. See the guide for using Impersonation.
- In
.env, turnAPP_DEBUGtofalsefor production environment. - Remove
Route::get('logs', '\Rap2hpoutre\LaravelLogViewer\LogViewerController@index');fromroutes/web.phpwhile in Production Environment. Cache::remember()generates cache files. RemovedTo delete expired cache files LaravelCacheGarbageCollector package is used. Runphp artisan cache:gc.- You can switch to and from maintenance mode by running
php artisan upandphp artisan down. - Optimizing Route Loading
php artisan route:cache - Dashboard page contents(e.g. Student count, Teacher count, Notice, etc.) are cached because these are not frequently changed. If you don't want these to be cached, just remove the cache lines in
indexmethod inapp\Http\Controller\HomeController.phplike the following example. So your edit would be something like this:
From:
...
$classes = \Cache::remember('classes-'.$school_id, $minutes, function () use($school_id) {
   return \App\Myclass::where('school_id', $school_id)
                        ->pluck('id')
                        ->toArray();
});
...
To:
...
$classes = \App\Myclass::where('school_id', $school_id)
                        ->pluck('id')
                        ->toArray();
...
You can do similar for other cache lines.
Auto generated fake data were used.