NOTE: Dev Mode does not currently work with Dev15 Preview 5.
Dev Mode is a feature for TypeScript 1.4 and higher that allows you to
- Debug the script side of the language service in Visual Studio.
- Use a custom language service file of your choosing.
Note: You may also use the VSDevMode.ps1 script to easily set these values. See the comments in the script for usage.
- Open up the Registry Editor (
regedit.exefrom the Run prompt). - If you are using...
- Visual Studio 2013: Navigate to
HKEY_CURRENT_USER\Software\Microsoft\VisualStudio\12.0\TypeScriptLanguageService(or create the key if it does not exist). - Visual Studio 2015: Navigate to
HKEY_CURRENT_USER\Software\Microsoft\VisualStudio\14.0\TypeScriptLanguageService(or create the key if it does not exist).
- Create a new registry, DWORD (32-bit) Value, with the name
EnableDevMode. - Right click the
EnableDevModevalue and Modify it. - Change the value data to
1.
Note: You may also use the VSDevMode.ps1 script to easily set these values. See the comments in the script for usage.
- Open up the Registry Editor.
- If you are using...
- Visual Studio 2013: Navigate to
HKEY_CURRENT_USER\Software\Microsoft\VisualStudio\12.0\TypeScriptLanguageService(or create the key if it does not exist). - Visual Studio 2015: Navigate to
HKEY_CURRENT_USER\Software\Microsoft\VisualStudio\14.0\TypeScriptLanguageService(or create the key if it does not exist).
- Create a new registry, String Value, with the name
CustomTypeScriptServicesFileLocation. - Right click the
CustomTypeScriptServicesFileLocationvalue and Modify it. - Change the value data to the full path of your alternative services file (e.g.
C:\Users\Daniel\TypeScript\built\local\typescriptServices.js)
To use a custom lib.d.ts library definition in conjunction with the custom language service file, one need to create two additional registry values: CustomDefaultLibraryLocation for lib.d.ts and CustomDefaultES6LibraryLocation for lib.es6.d.ts. Both reside in the TypeScriptLanguageService key.
- Create new registries, String Value, with the name
CustomDefaultLibraryLocationandCustomDefaultES6LibraryLocation. - Right click the
CustomDefaultLibraryLocationvalue and Modify it. Change the value data to the full path of your alternative library file (e.g.C:\Users\Daniel\TypeScript\built\local\lib.d.ts) - Right click the
CustomDefaultES6LibraryLocationvalue and Modify it. Change the value data to the full path of your alternative ES2015 library file (e.g.C:\Users\Daniel\TypeScript\built\local\lib.es6.d.ts)
When the language service's script side is modified in any way (whether or not you are using a custom location for your language service file), it will be reloaded on the fly for a given thread the next time any of that thread's services are requested. However, this means that if debugging, your language service threads will be purged.
- Have a running instance of Visual Studio 2013/2015 with an open TypeScript file.
- Open a new instance of Visual Studio 2013/2015.
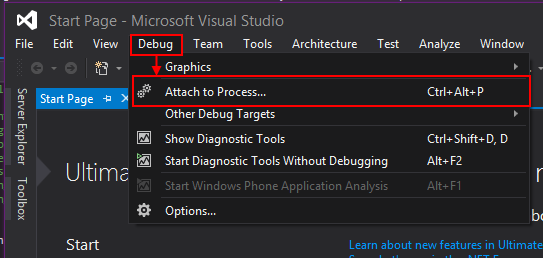
- Bring up the Attach to Process dialog by either
- Using menu bar and navigating from
Debug->Attach to Process.
- Clicking on the
Attachbutton from the Standard toolbar if it is visible.

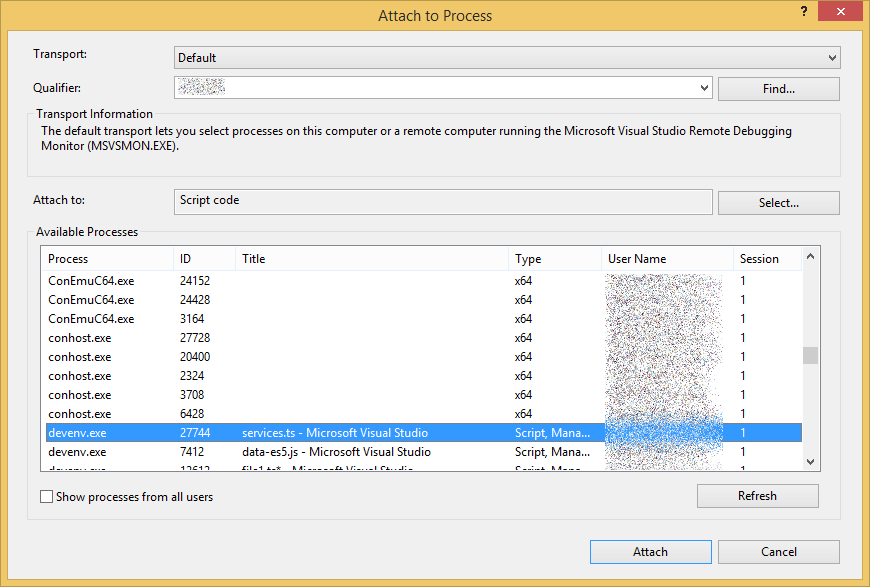
- In the row labeled
Attach to:, click on theSelect...button.
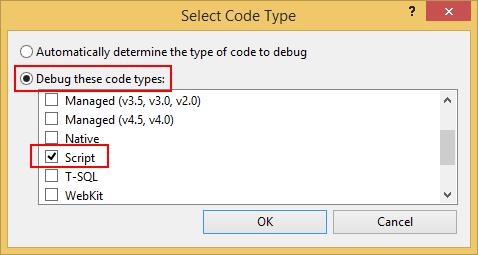
- Click the radio button
Debug these code typesand selectScript. Then press OK.
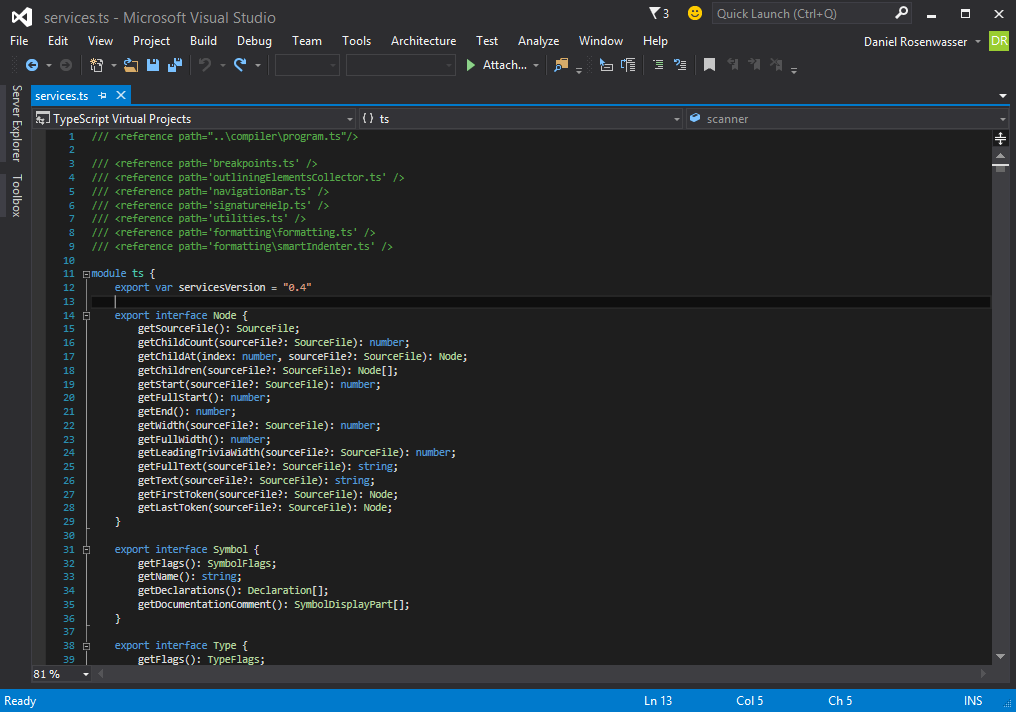
- Find the appropriate Visual Studio instance in your list. Visual Studio instances have the process name
devenv.exeand you can typically narrow down your instance looking for its current file in the Title field. - Hit the
Attachbutton. In the Solution Explorer. you should now see four active debuggers (one for each language service thread).
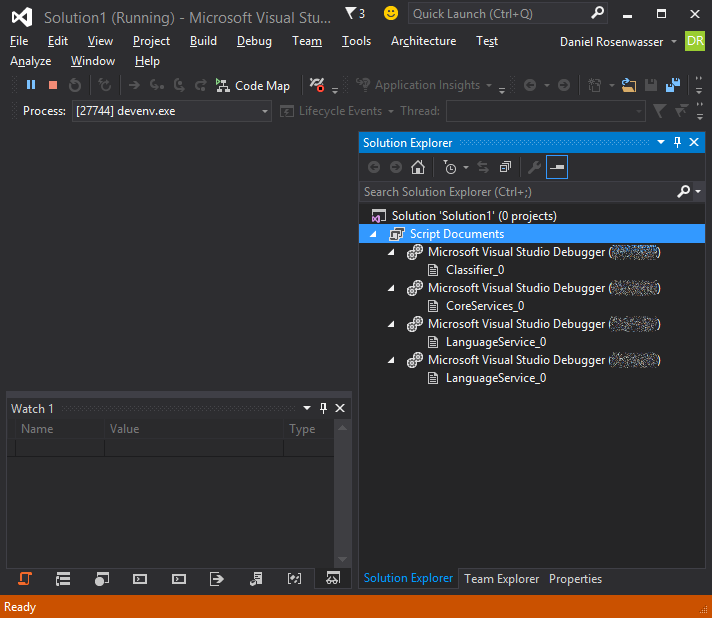
At this point you should be able to hit debug points and get an understanding of what's going on.
- Classifier_N: This thread runs the lexical classifier - a line-oriented classifier which is primarily concerned with fast rudimentary colorization.
- LanguageService_N and LanguageService_N: Unfortunately these haven't been distinctly named.
- One of these is the syntactic classifier, giving accurate (semantically agnostic) classifications.
- The other performs all syntax-related questions such as formatting, smart indentation, etc.
- CoreServices_N: This is used to perform semantic operations such as providing diagnostics, completion lists, quick info, etc. Effectively, anything that needs the typechecker will use this thread.